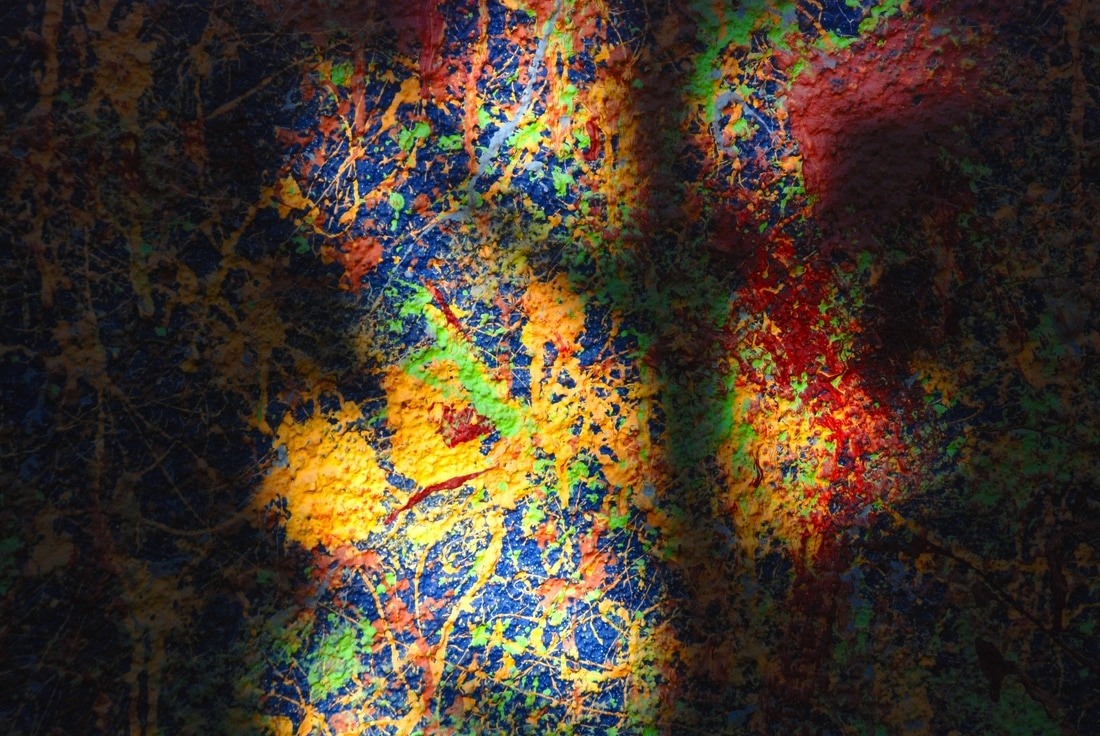
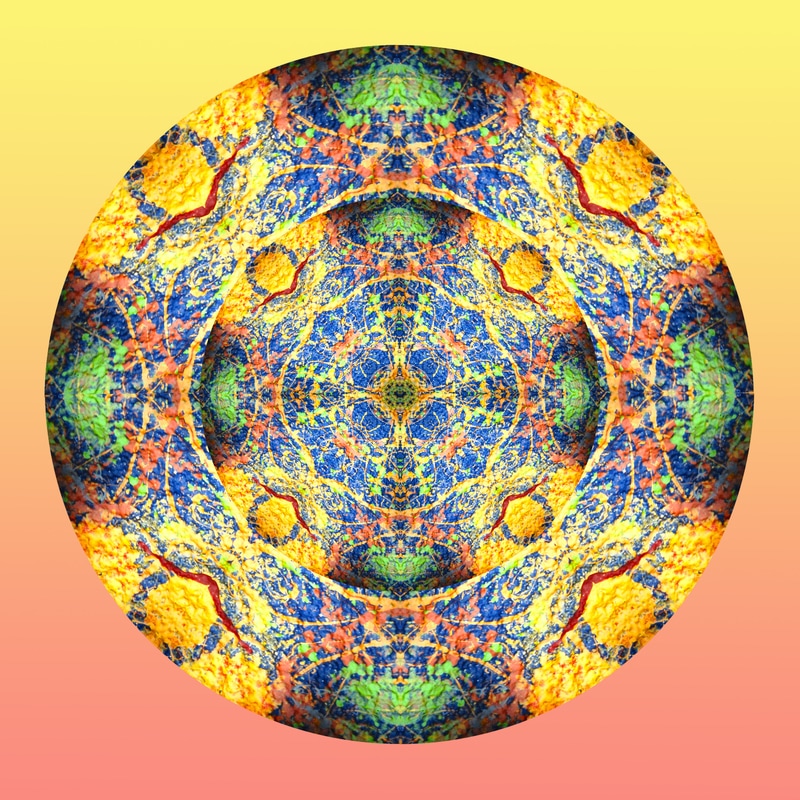
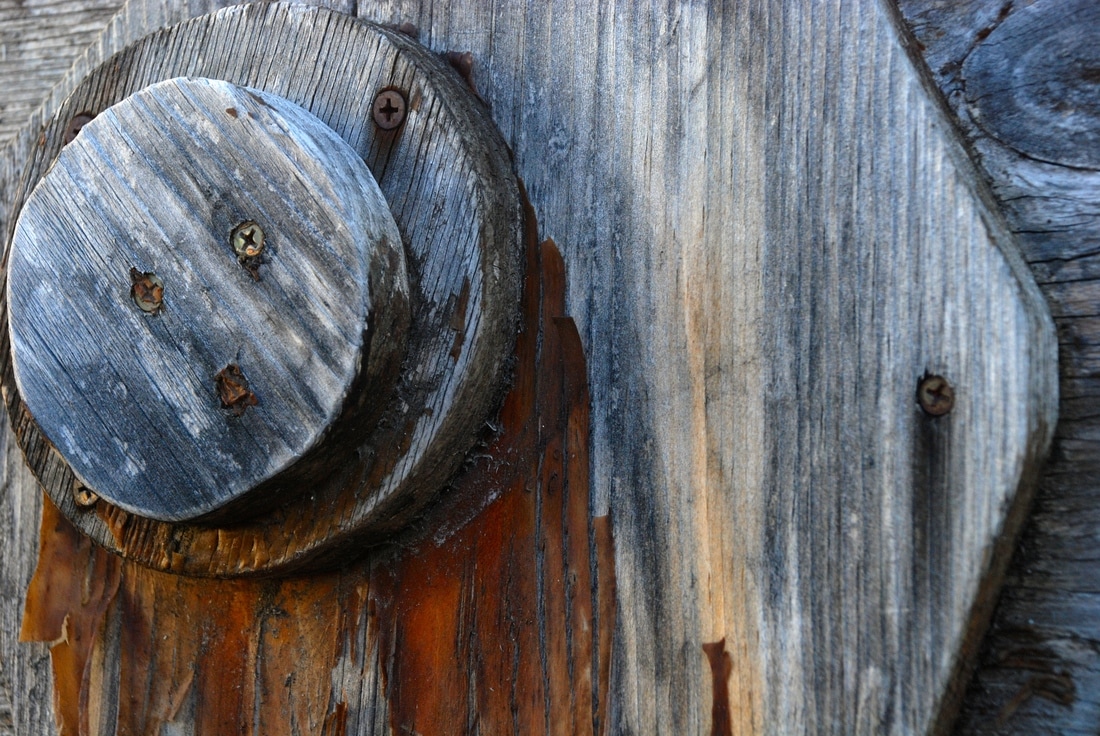
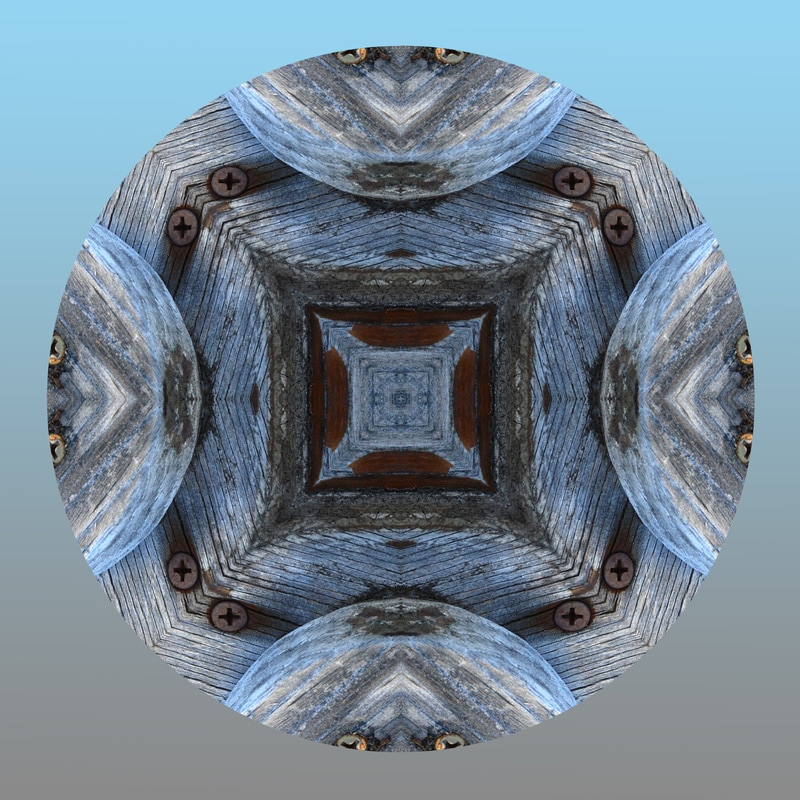
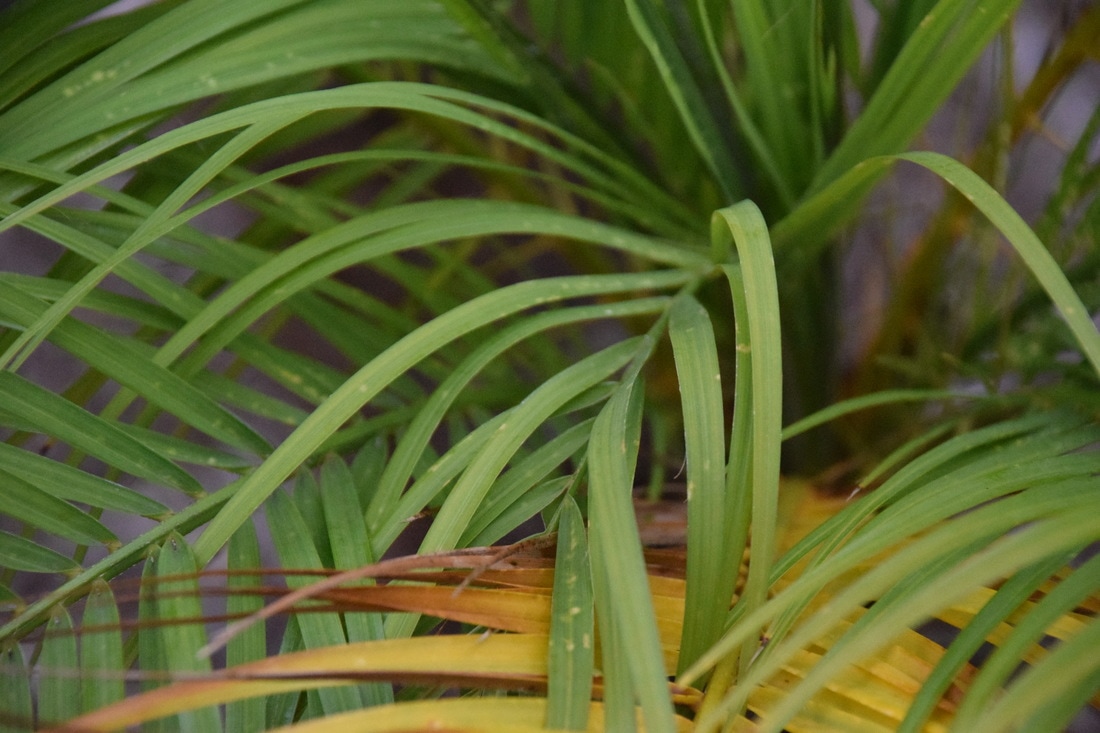
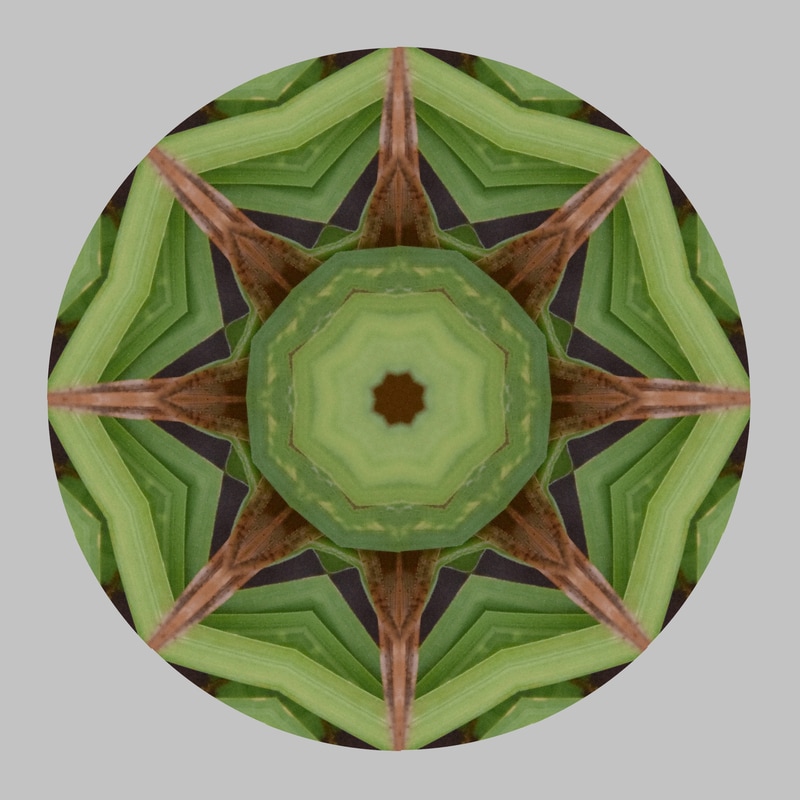
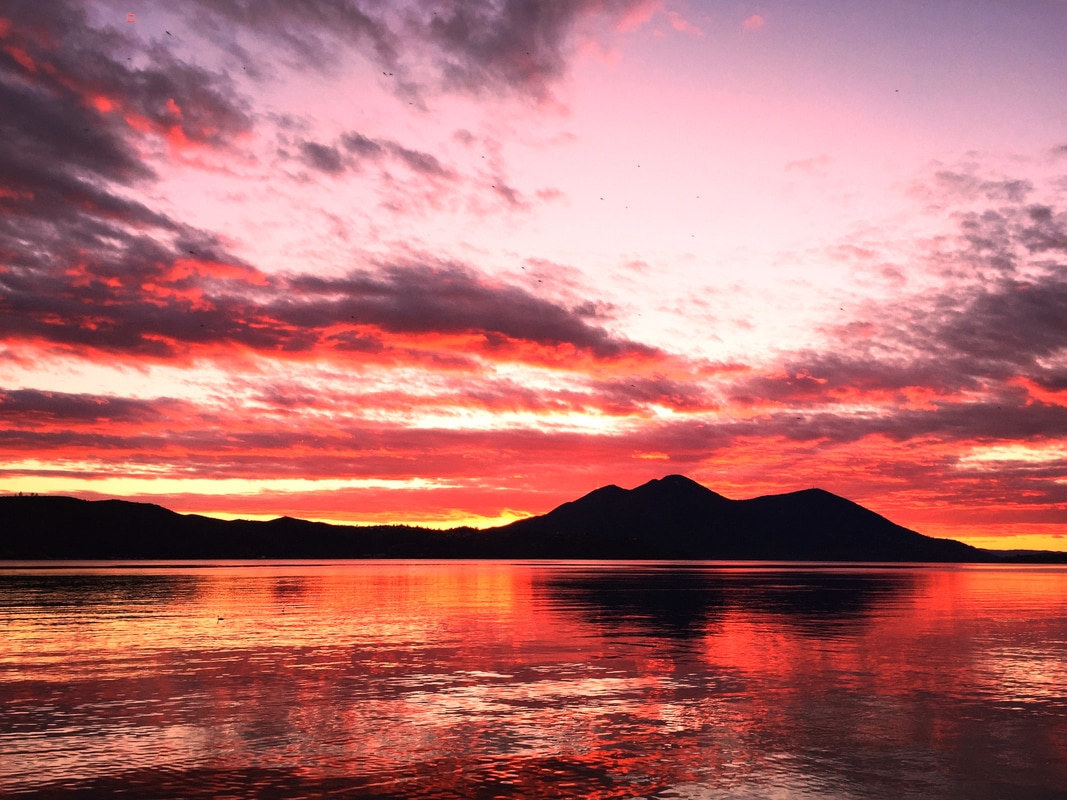
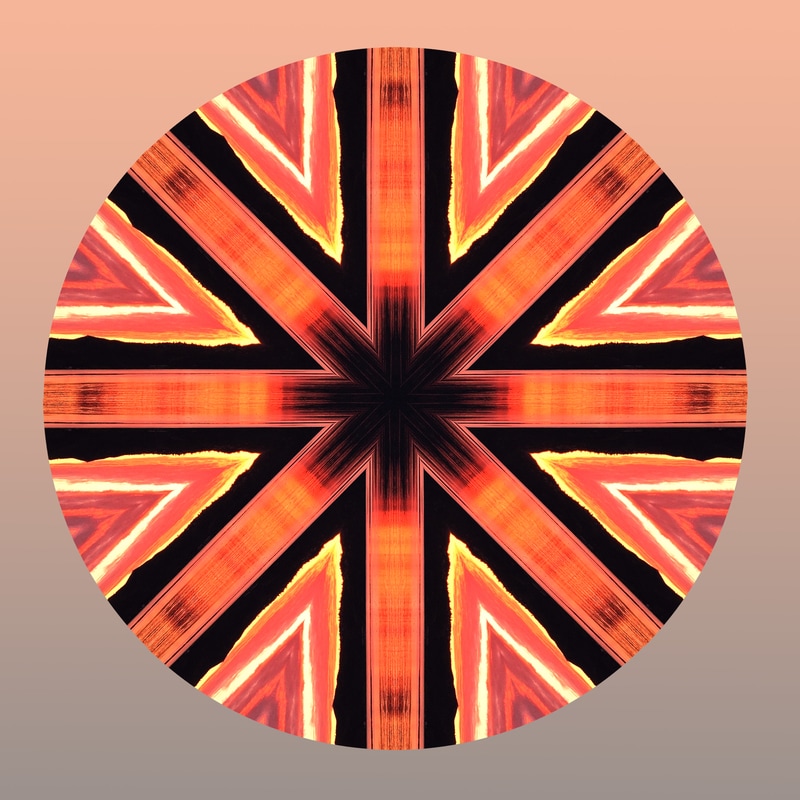
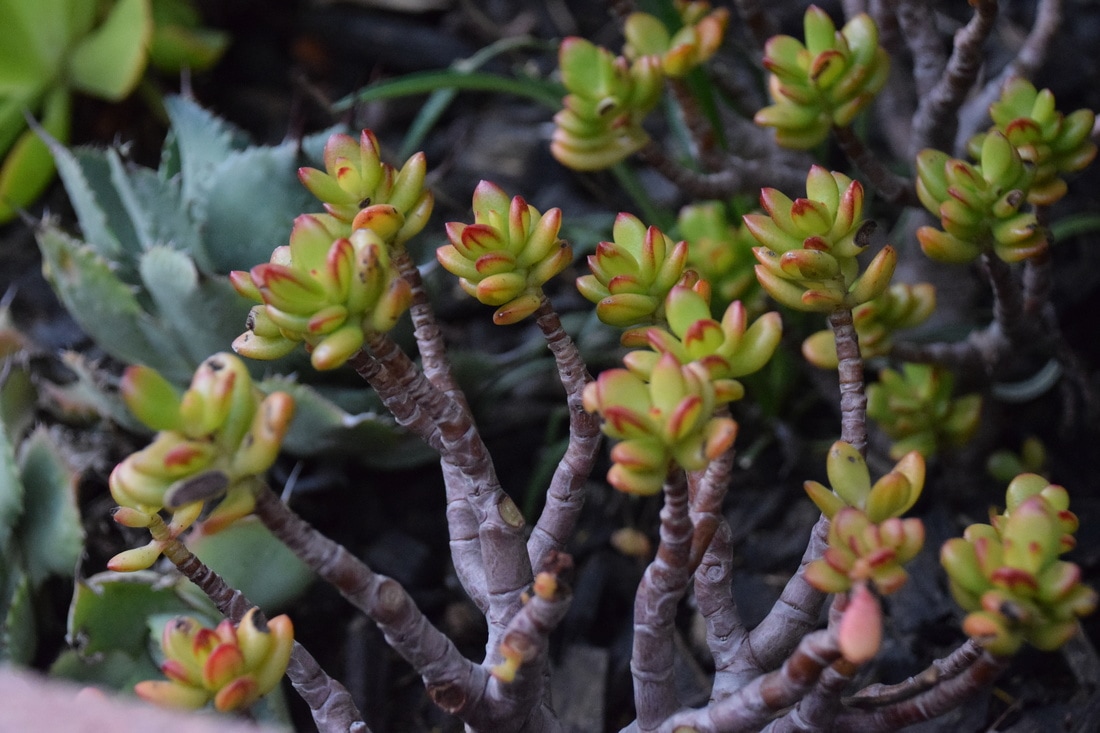
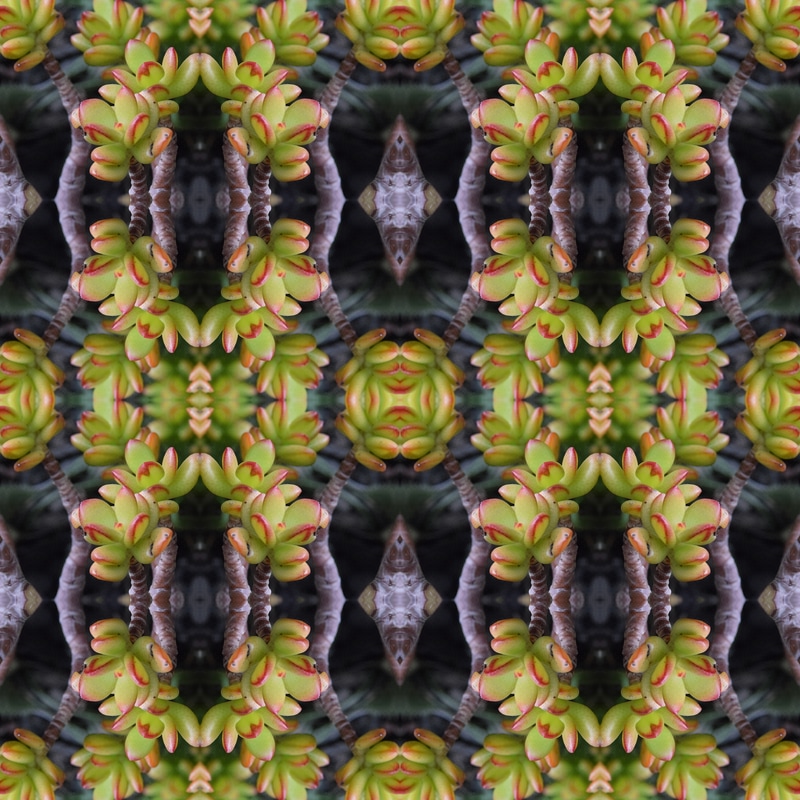
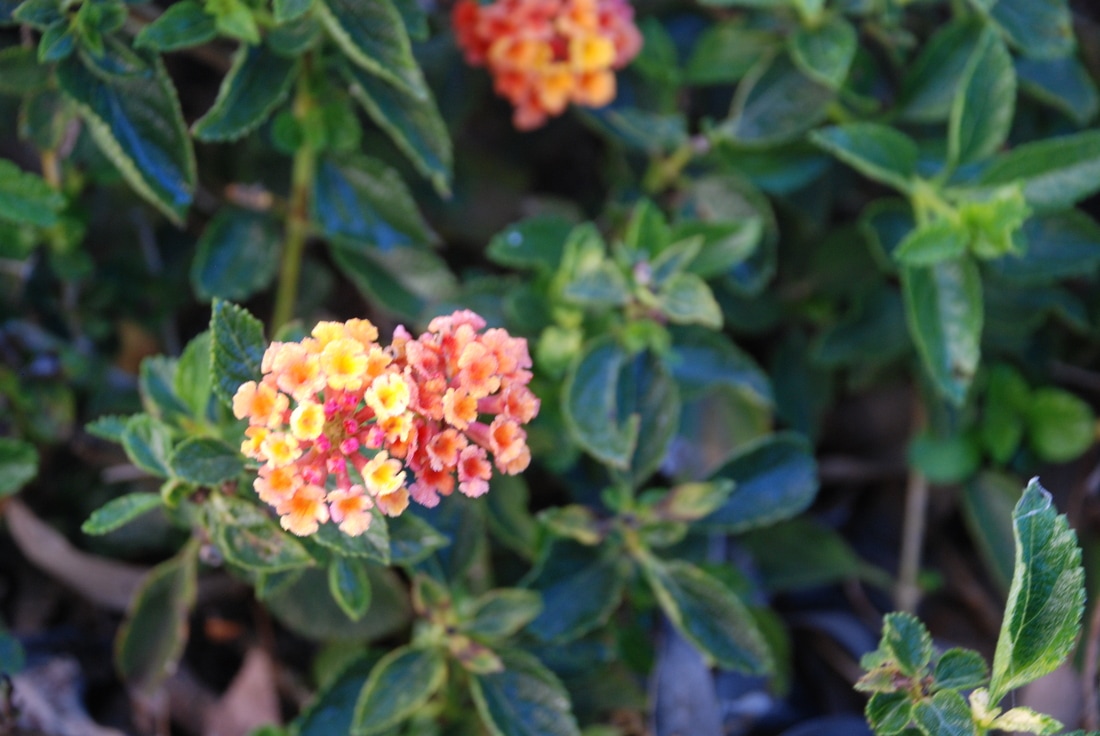
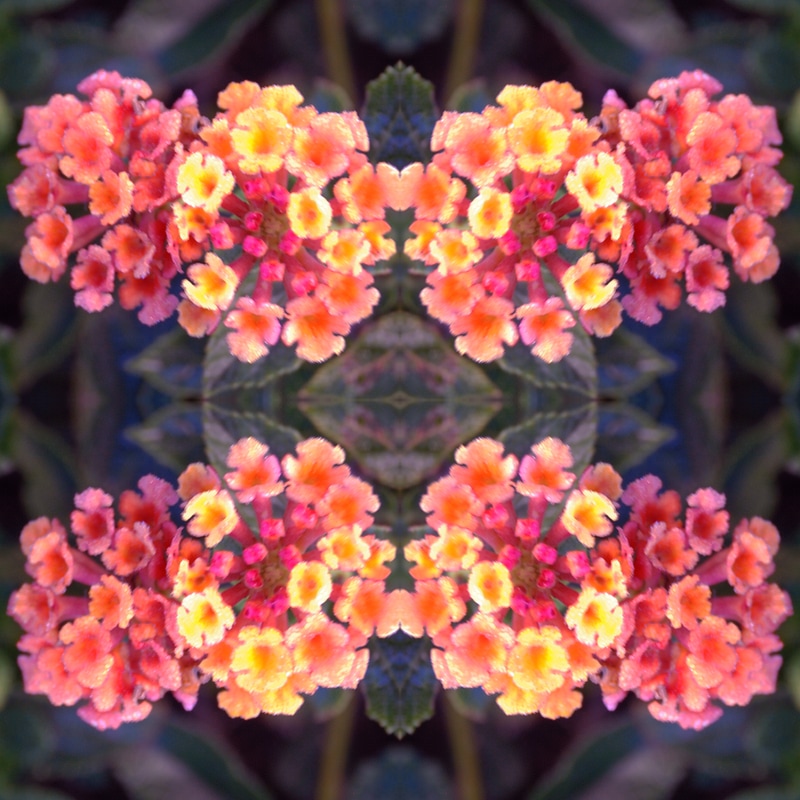
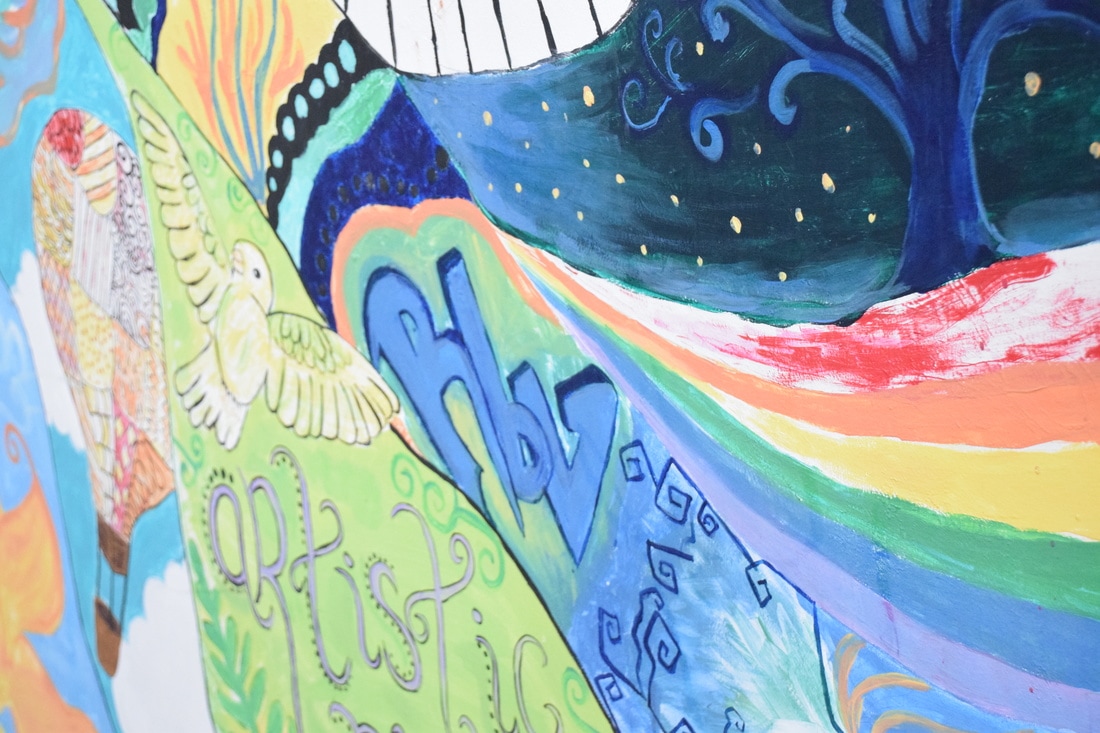
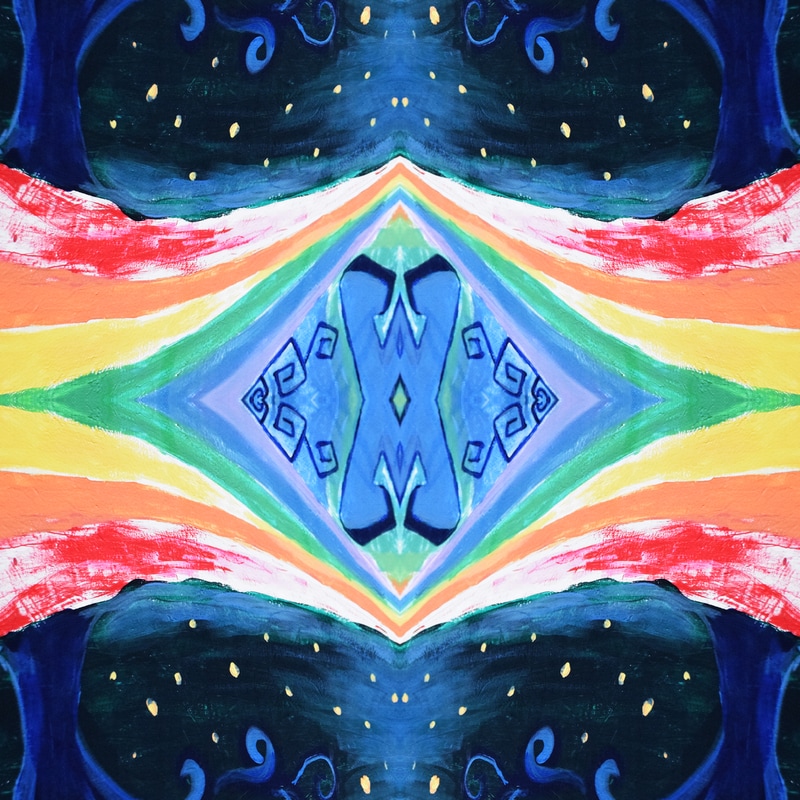
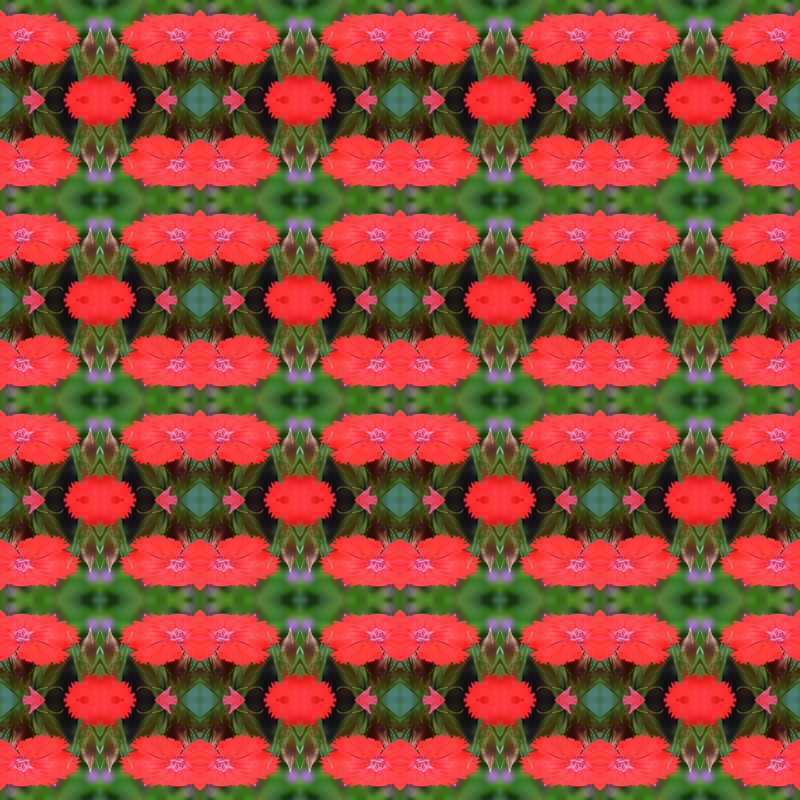
A mandala is a circular tessellation made from cropped images. I created the mandala in photoshop by dragging a template piece onto my photo to crop the image I am going to use. After I take the piece, I arrange them around the template by rotating and scaling the pieces. When my mandala is perfectly circular I make a background copy to change it. In most of my images I made a custom gradient but lowered the opacity so the mandala could be the main emphasis of the piece. What I liked about this project was how creative you can get on your images. You are able to make your images as crazy or as simple as you want. My favorite image is the fifth image on my website. it is a cropped piece from a sunset. I didn't struggle with anything because I am getting better and better everyday with photoshop. If I did this project again I would not do anything differently.
0 Comments
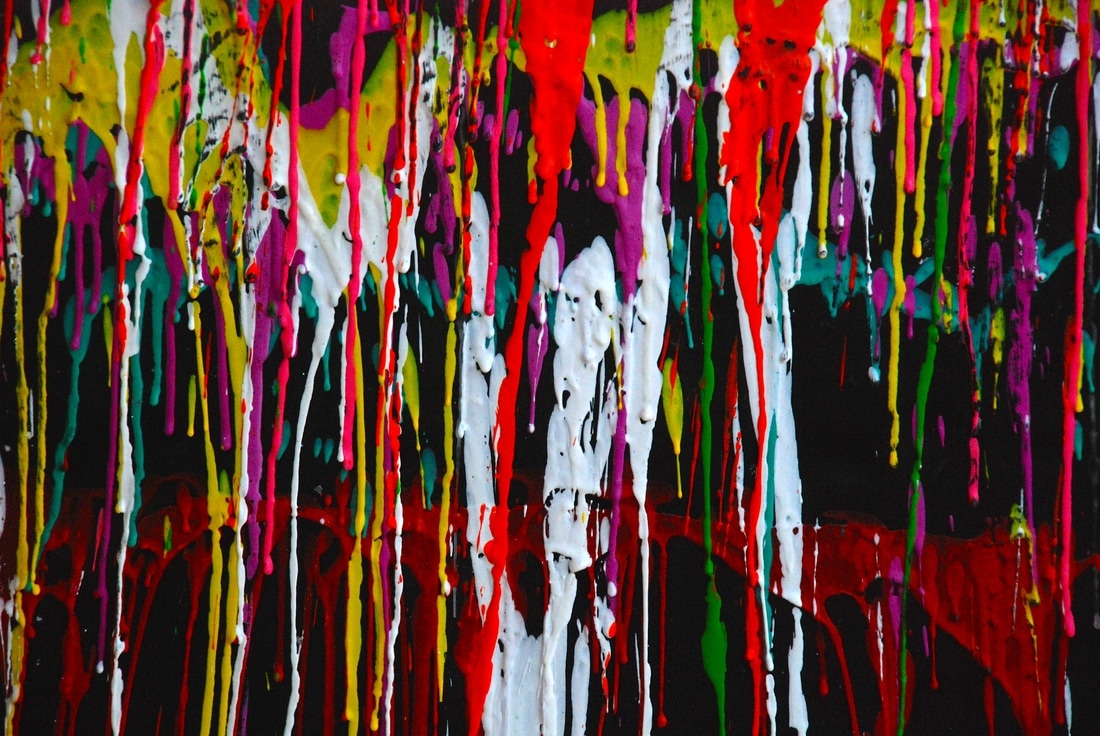
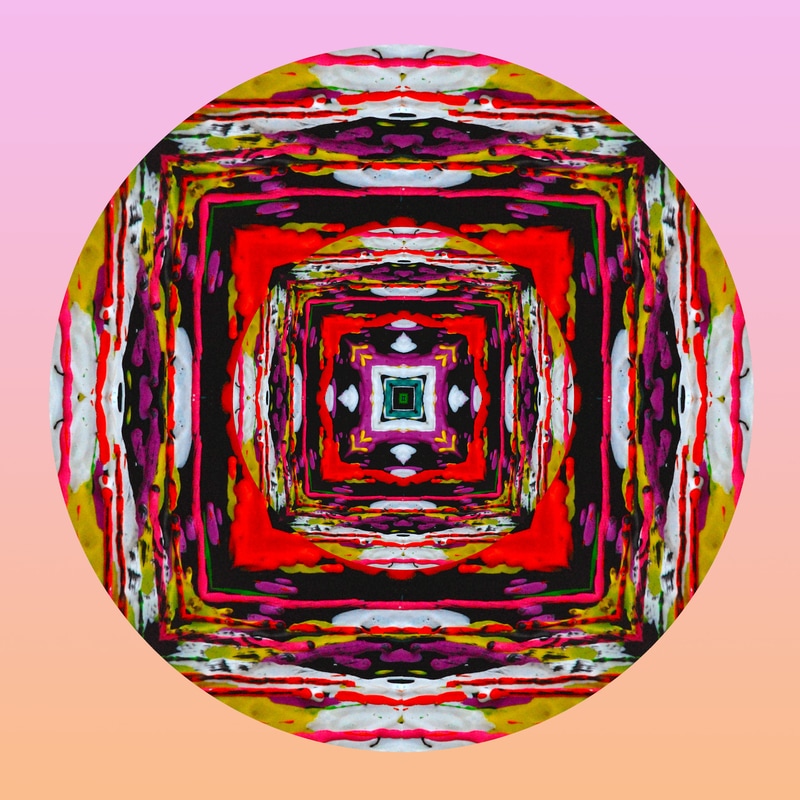
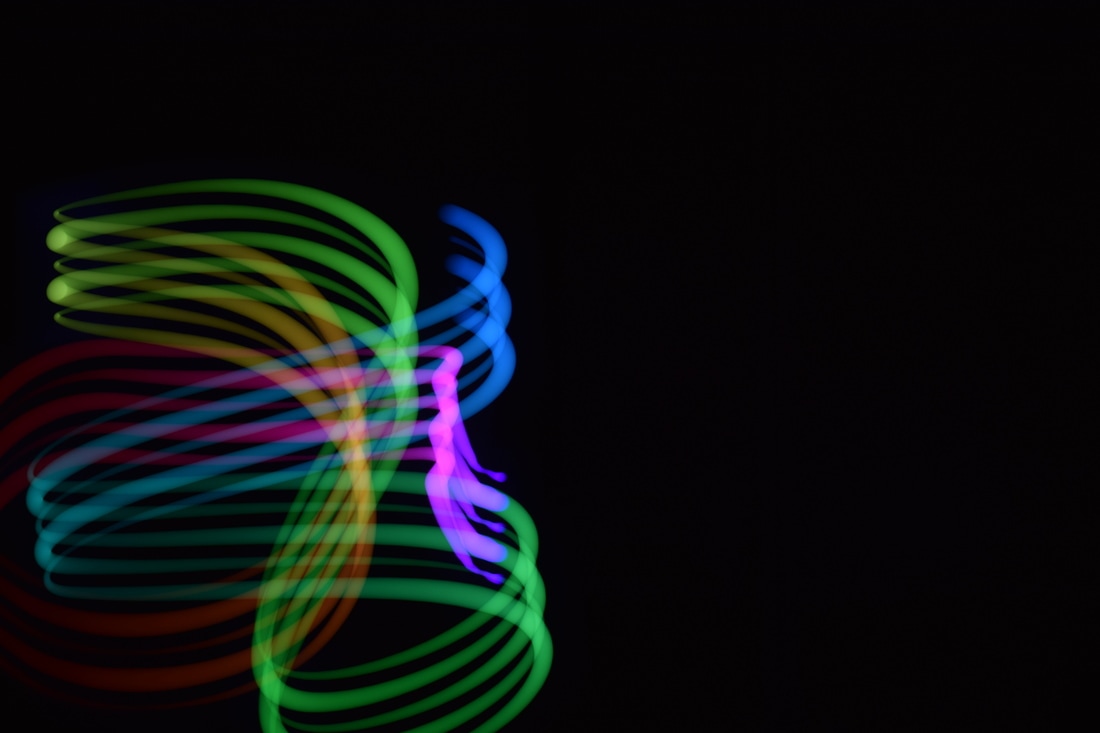
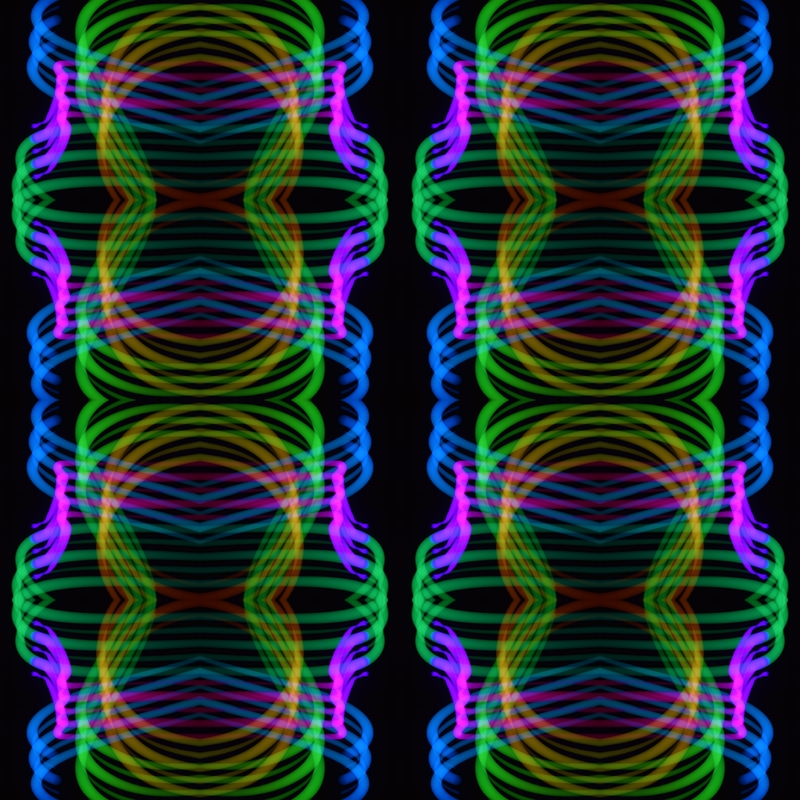
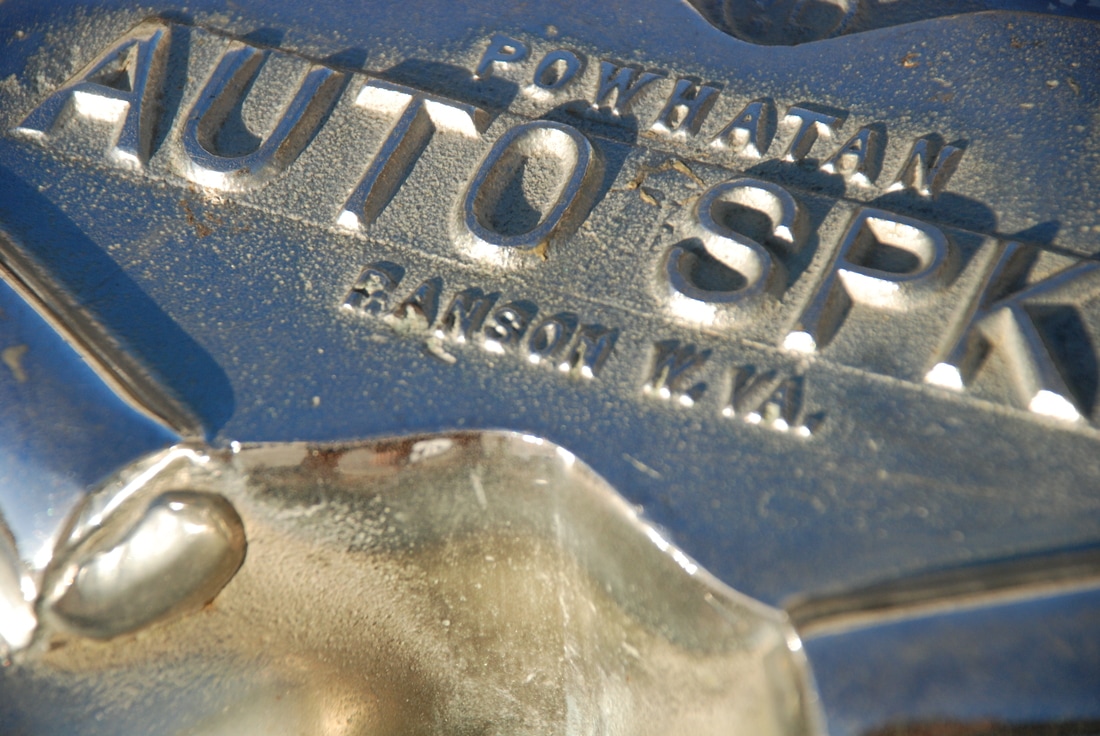
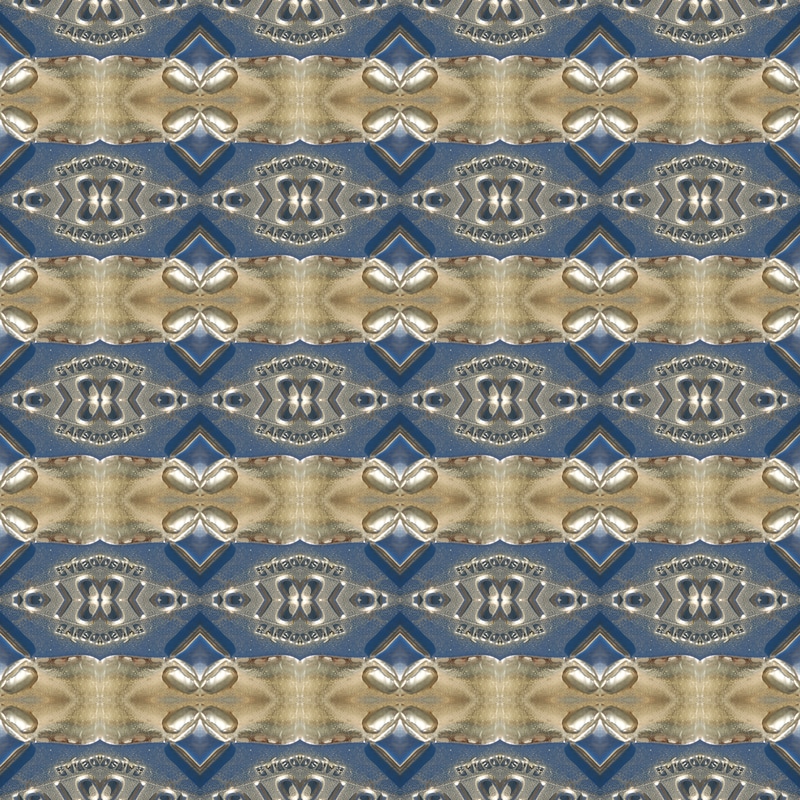
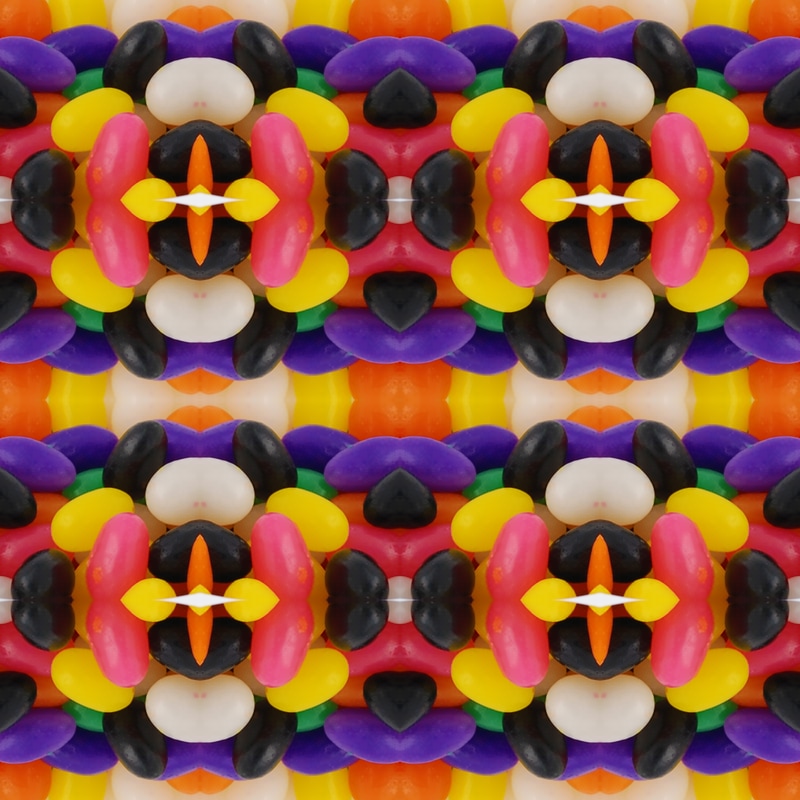
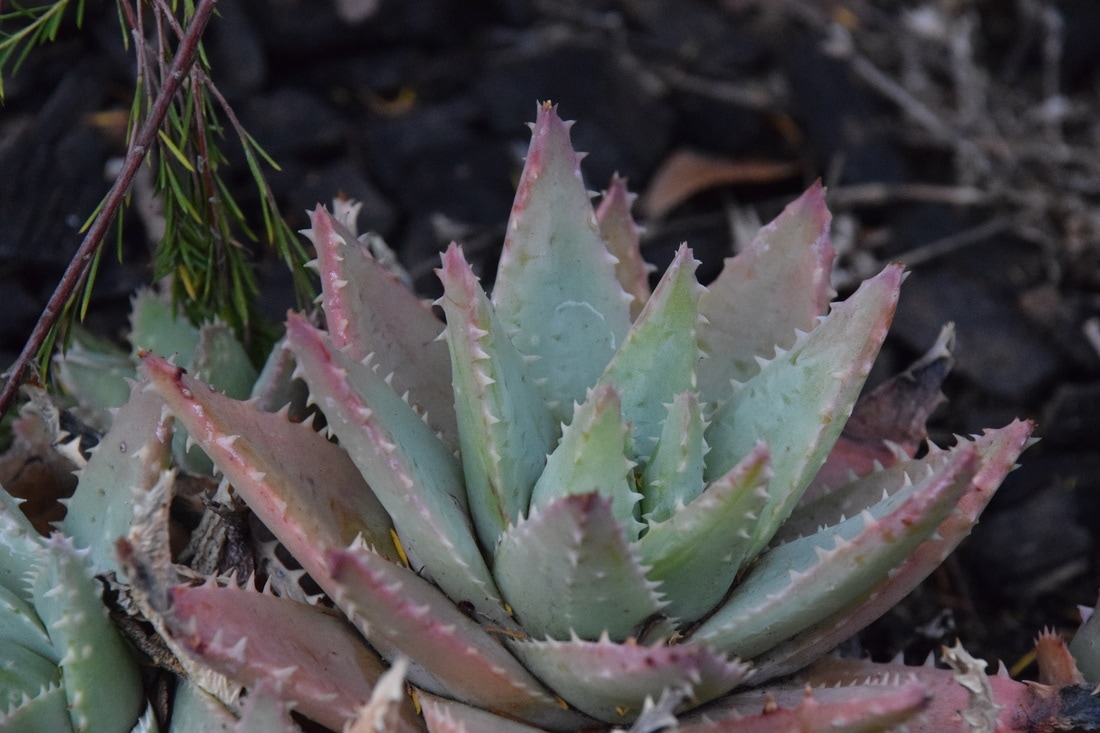
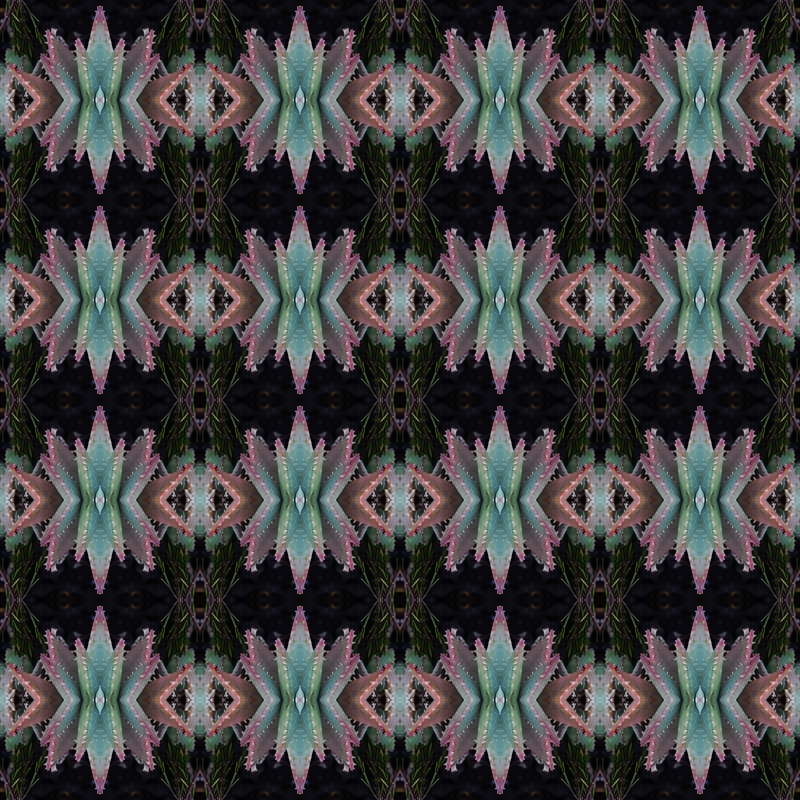
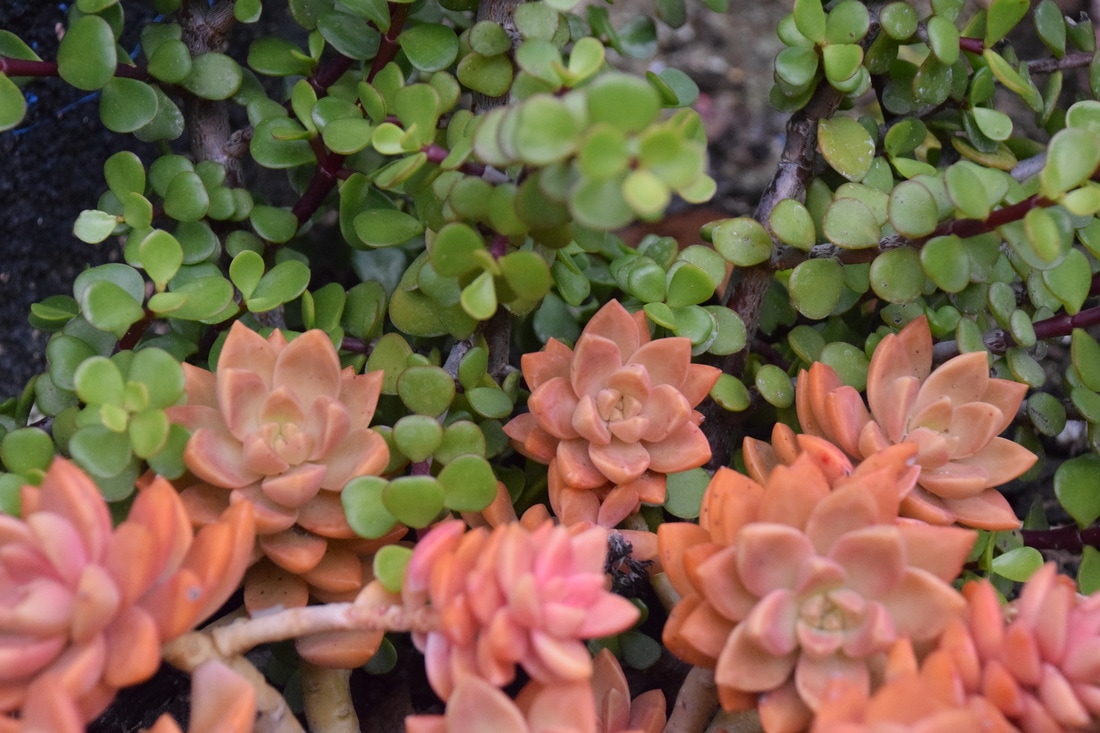
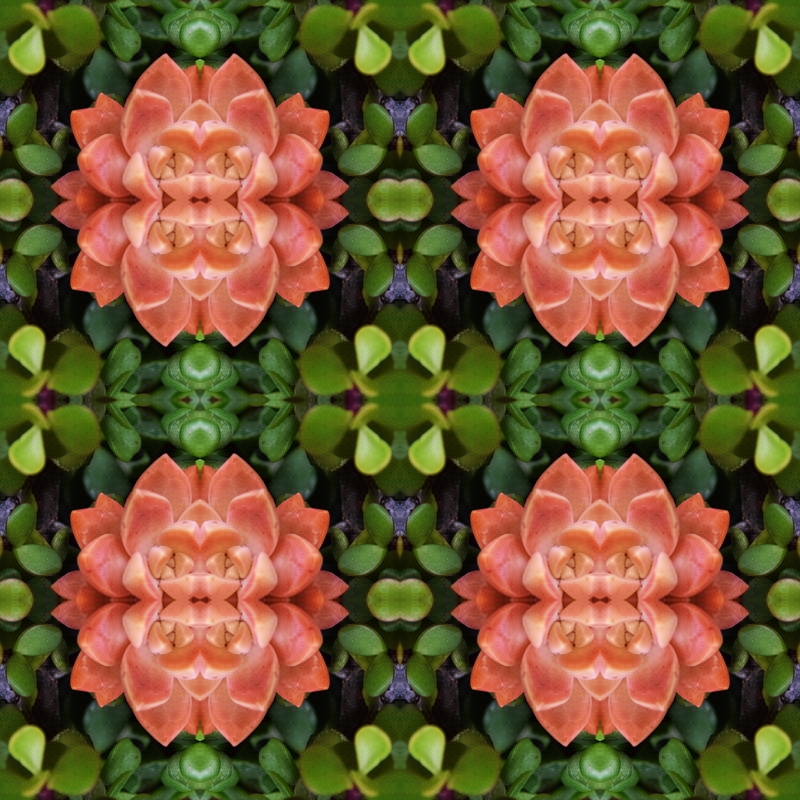
A tessellation is a pattern of many small photos formed together to create a master image. You create a tessellation by cropping a small part of an image and resizing it to your desired size. You then create either a one, two or four inch template to place your cropped image in. Once your images are in you rotate them to make a geometric centerpiece for each respectable square. Merge visible layers, do some touch up editing and you're done. What i liked about this is you never know what your final product will look like until you do it. My favorite image is the one right above, my last photo. I didn't struggle with anything. If I did this again I would try to take images with a lot of color because those seem to turn out well.
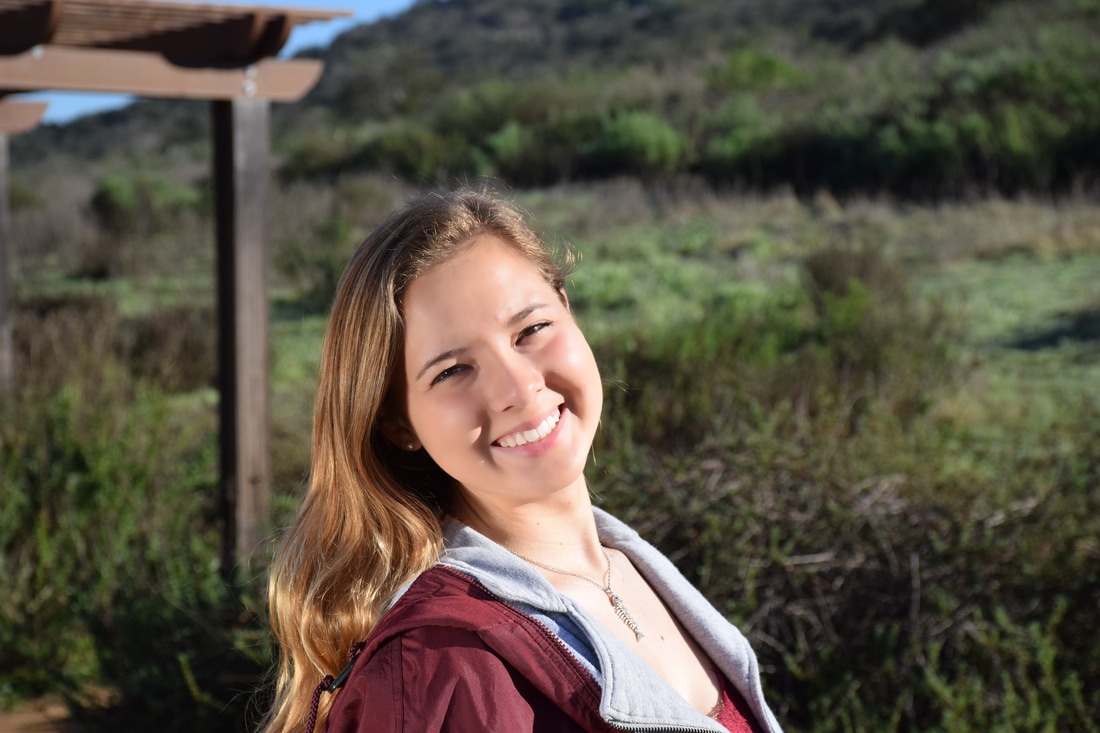 f/8, ISO 400, 1/5,000th of a second 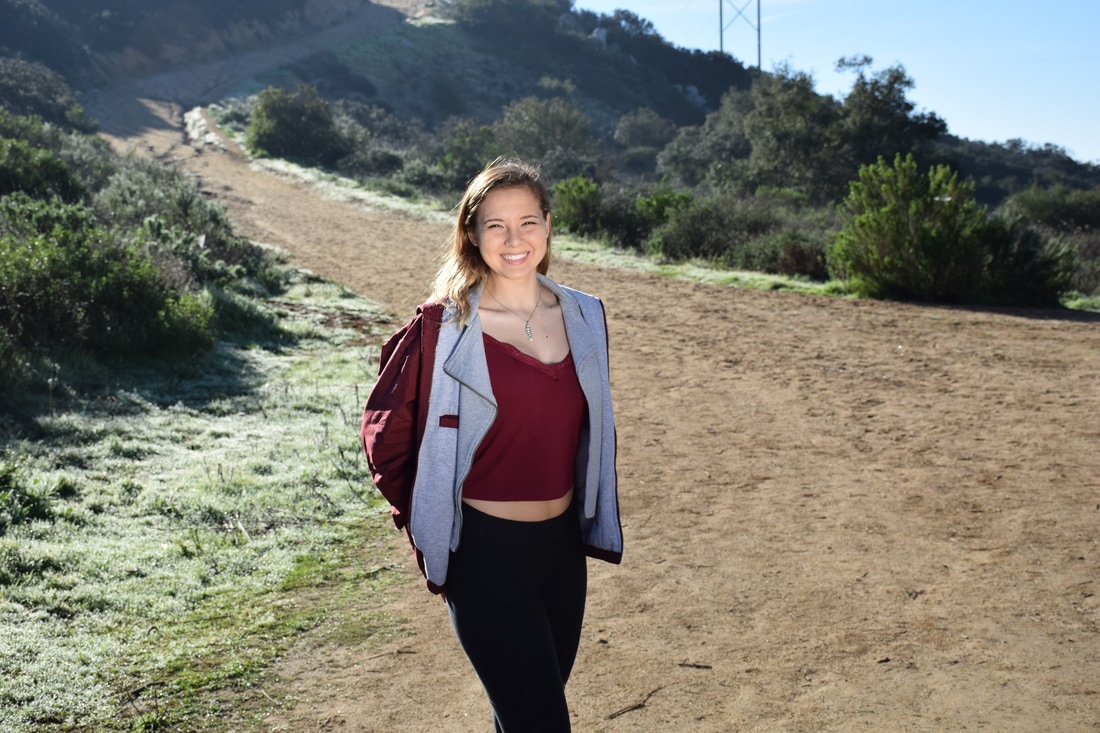 f/8, ISO 400, 1/1,000th of a second 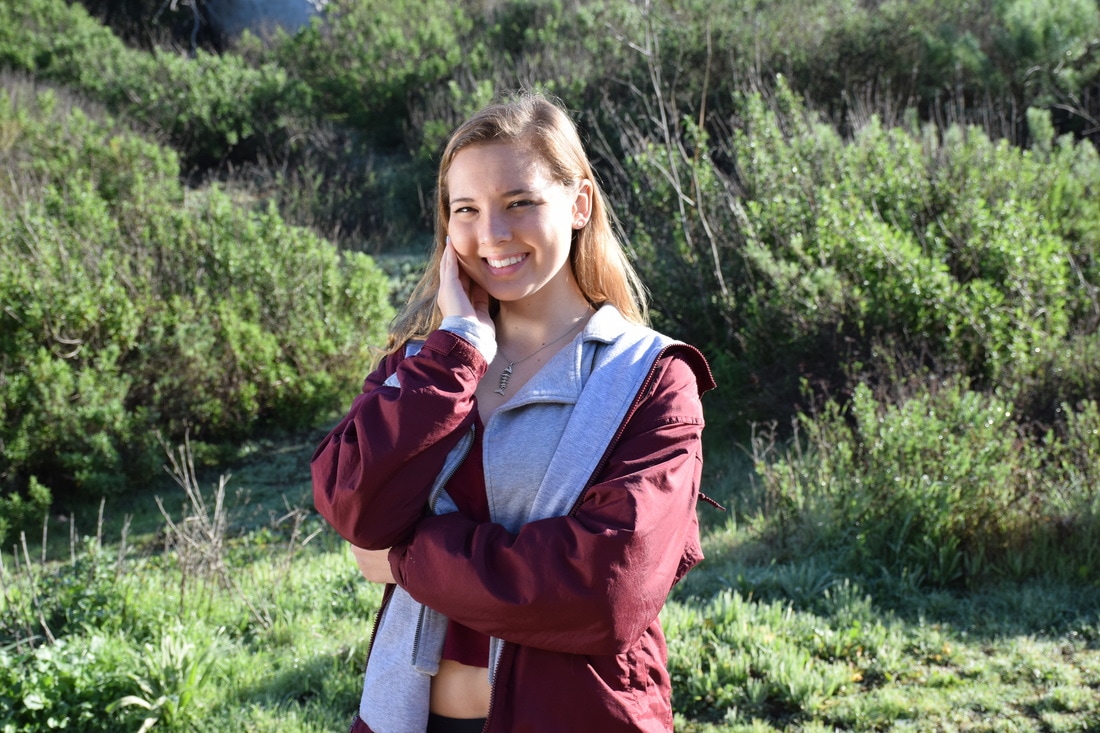 f/8, ISO 400, 1/350th of a second 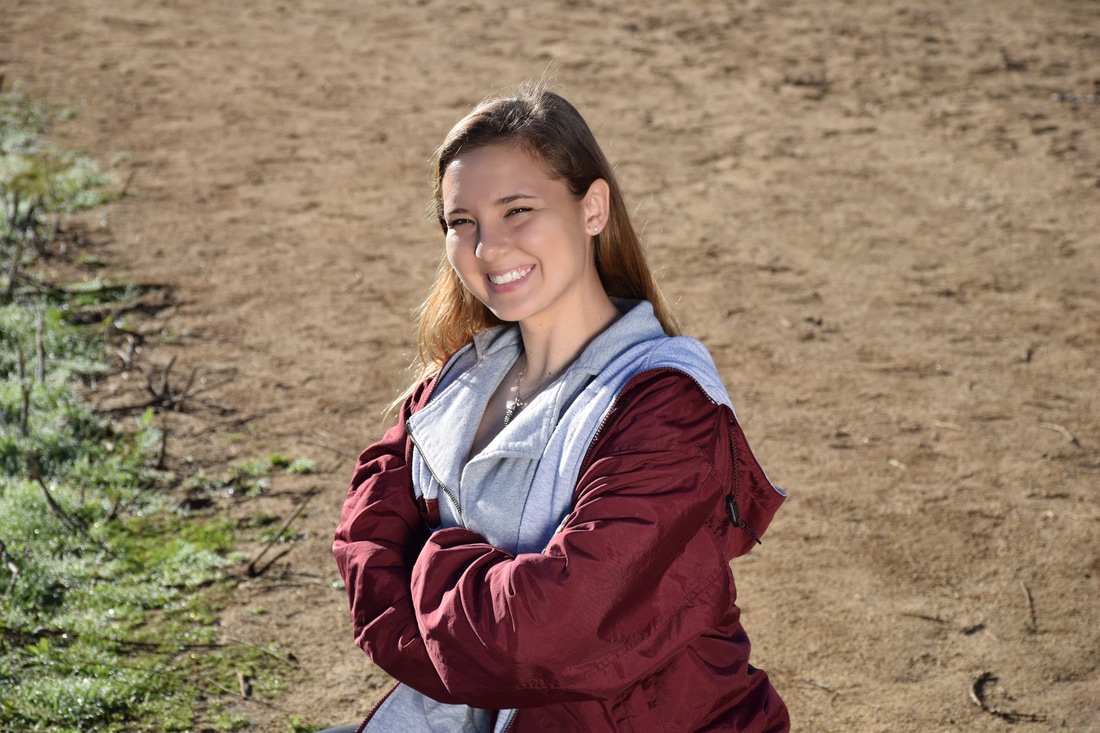 f/8, ISO 400, 1/1,000th of a second 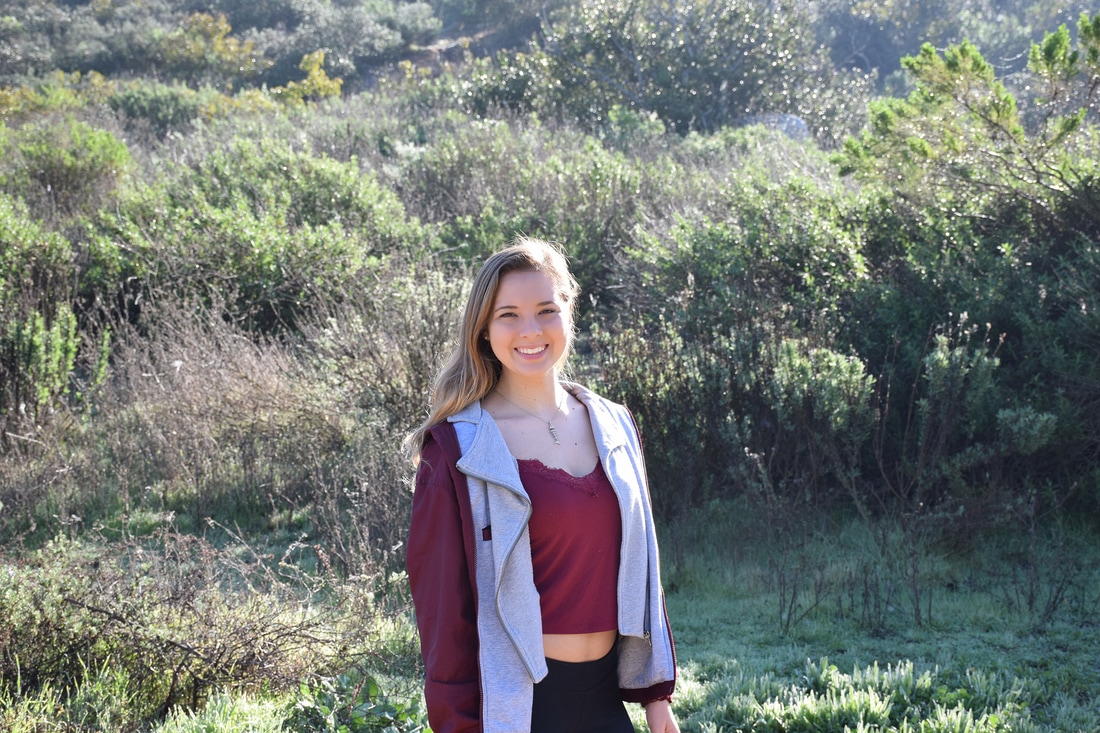 f/8, ISO 400, 1/250th of a second 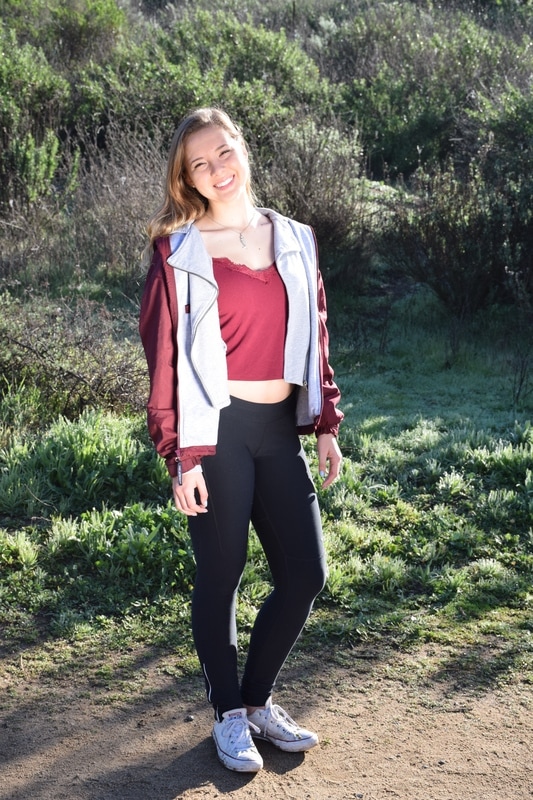 f/8, ISO 400, 1/500th of a second What I learned about portraiture from going to the duck pound, was that good lighting is hard to get when there are a lot of trees that cast shadows. What I used to decide on my poses was the pose sheet Mrs. Moncure supplied us with. The sheet gave us a starting point, but also helped us spark ideas of our own. We used the reflector by having a person stand out of the shot and reflect the sun onto the subject,The reflector was very useful and made the subject look more vibrant and happier. What I did to retouch the photo was basically a surface blur and repairing the blemishes with a mix of a couple other steps. Some positions that are present in portrait photography are the hand in pockets, hand under chin and laying down with hand under chin. School, families, churches and organizations are all candidates to hire portrait photographers. On average, a student portrait photographer earn around 50-100 dollars an hour. For portraits taken by a top professional photographer you can be charged up to 1500 dollars per.
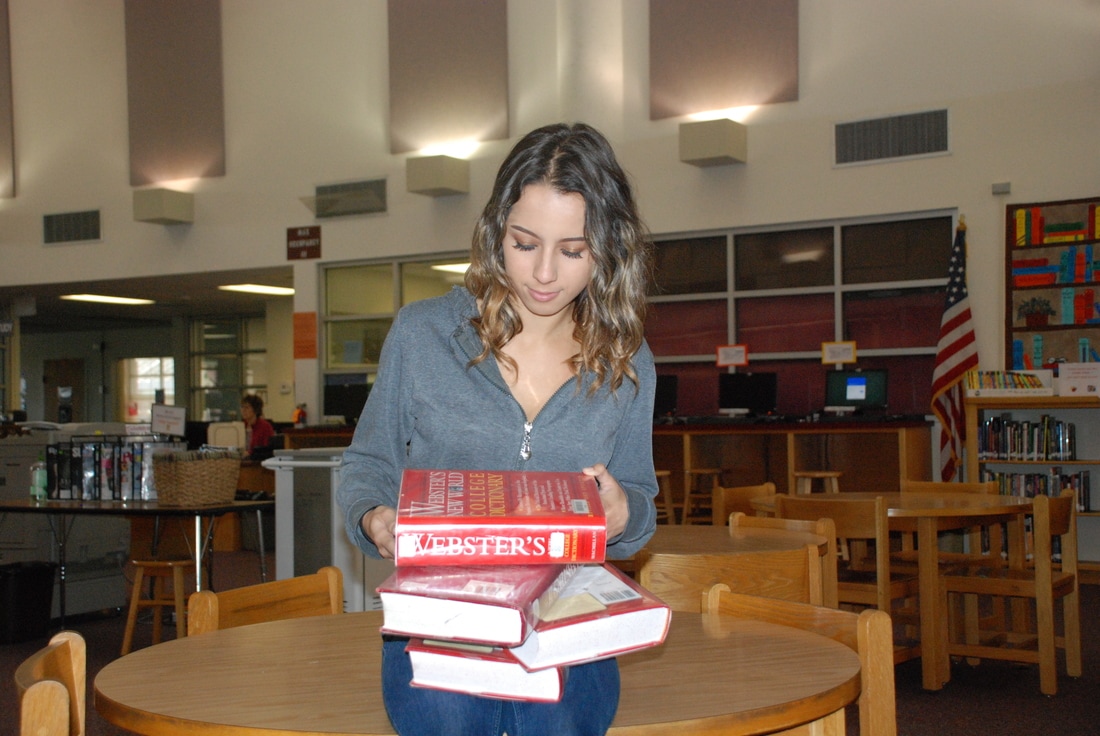 In my photo I am representing the beauty in school through the pretty girl in my photo. I am trying to convey the message that having free education provided to us is a very beautiful thing. America is fortunate in the fact that we have public schools that offer diversity and opportunities to all. Our schooling opportunities are a blessing because it provides the youth to come together to learn and collaborate with one another. We are not like other countries; we educate all and accept all. The stronger our education system gets as the years go on, the better people’s lives will be. Education provides a way for people to better themselves in a way like no other.
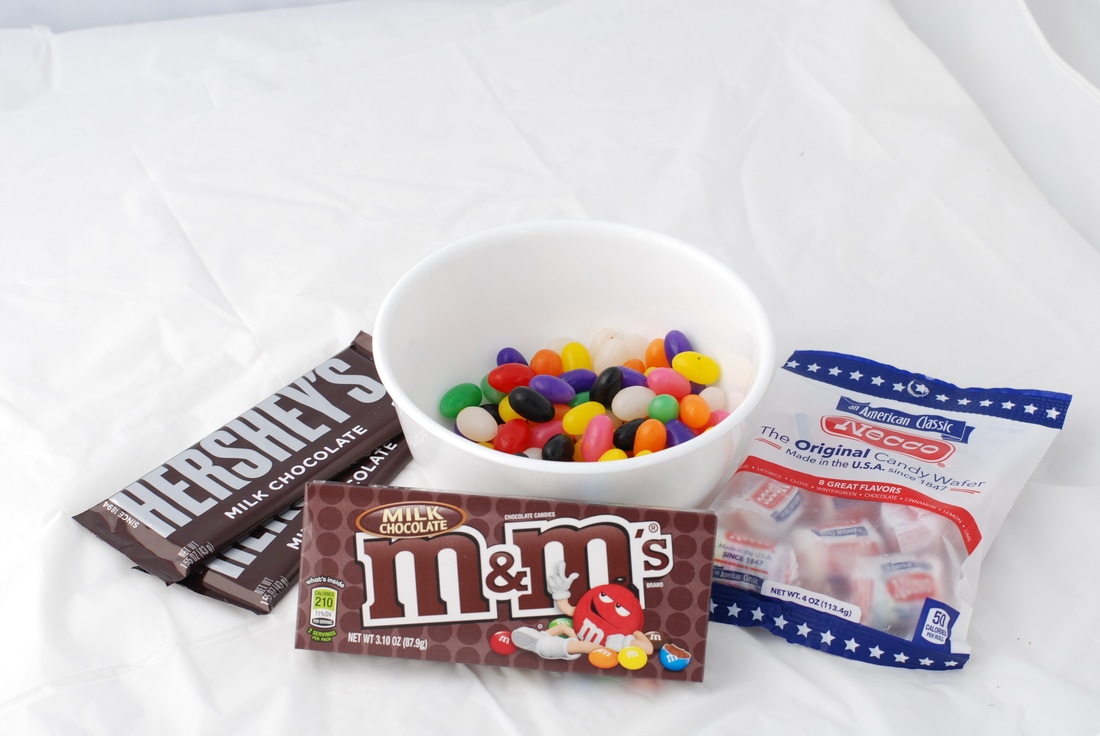
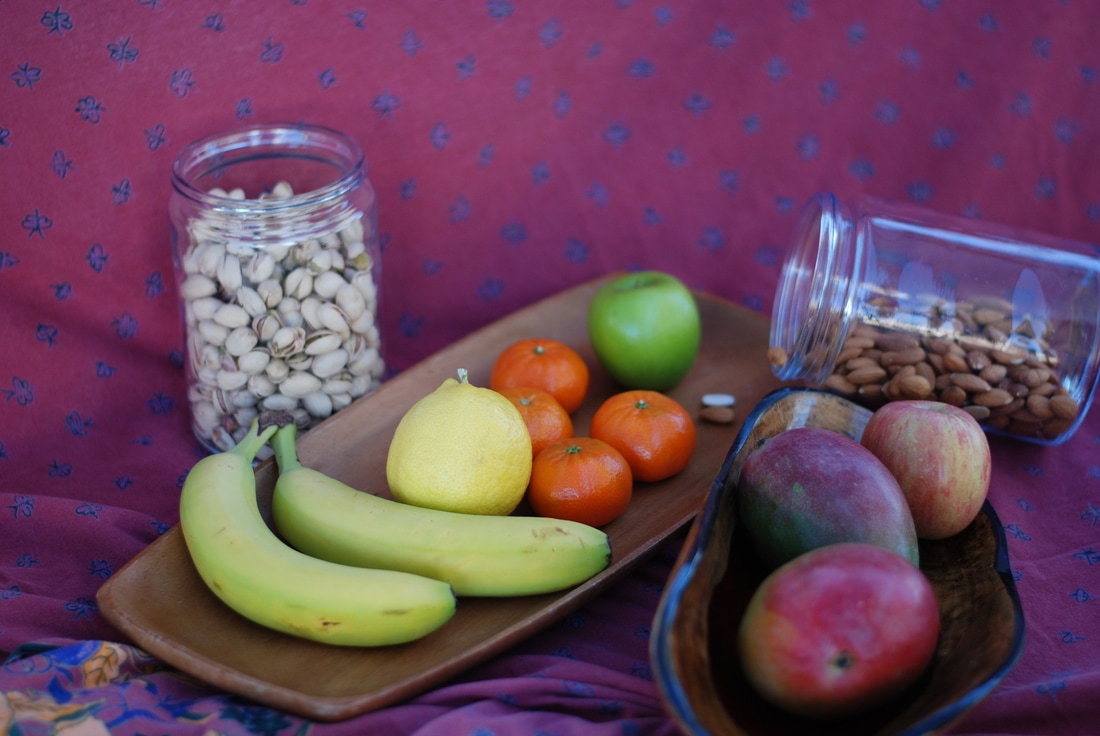 f/8, ISO 200, 1/350th of a second 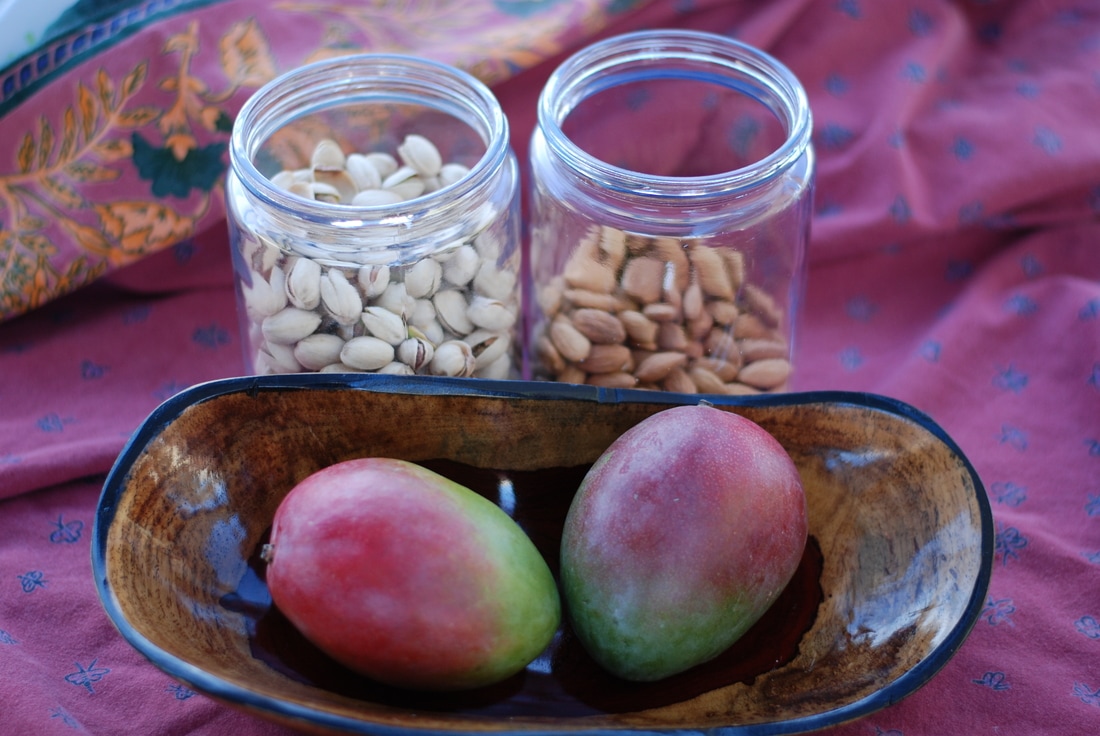 f/1.8, ISO 200, 1/350th of a second 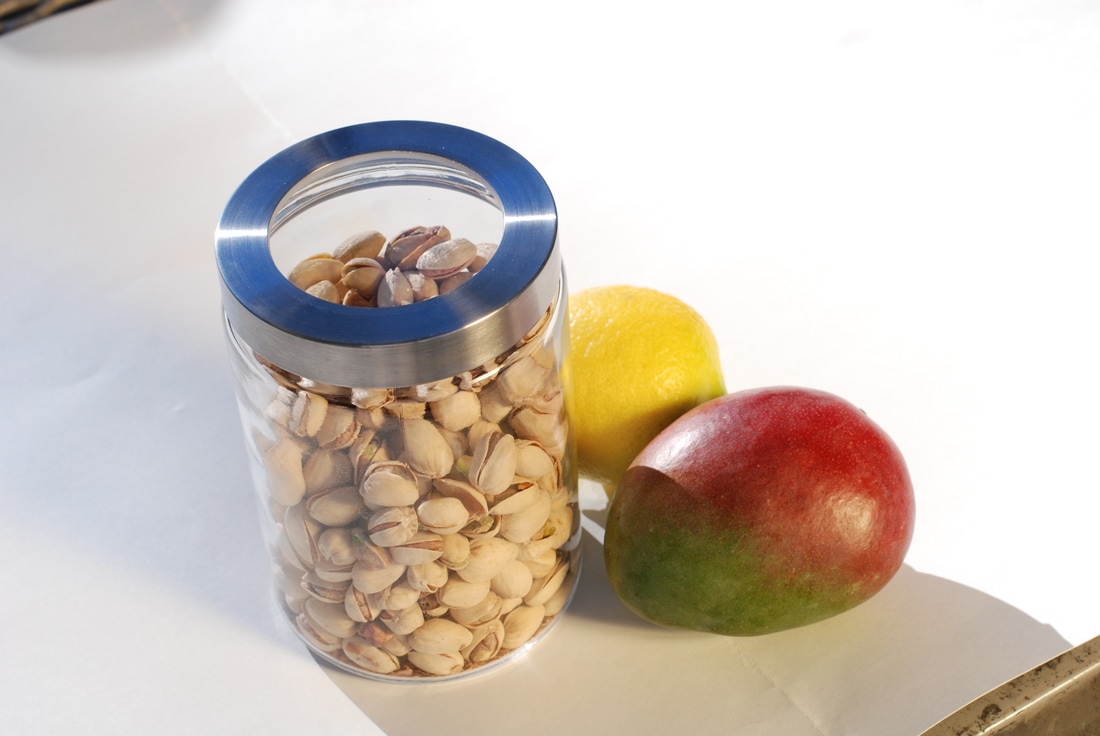 f/8, ISO 200, 1/350th of a second 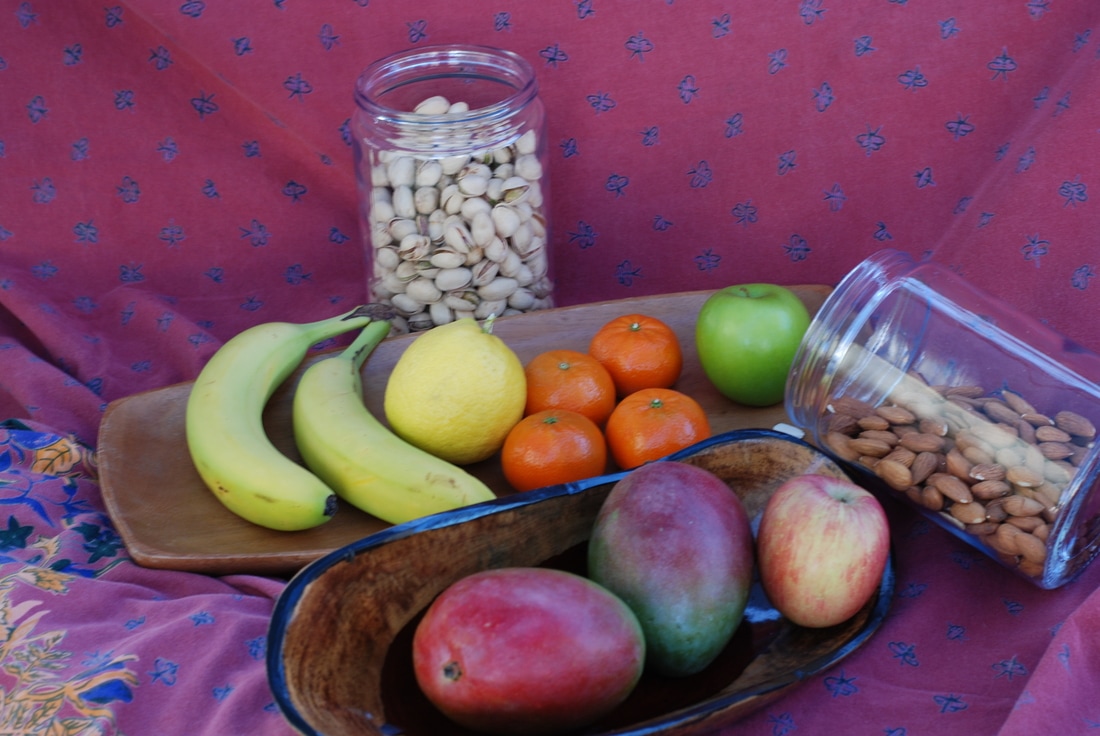 f/8, ISO 200, 1/20th of a second 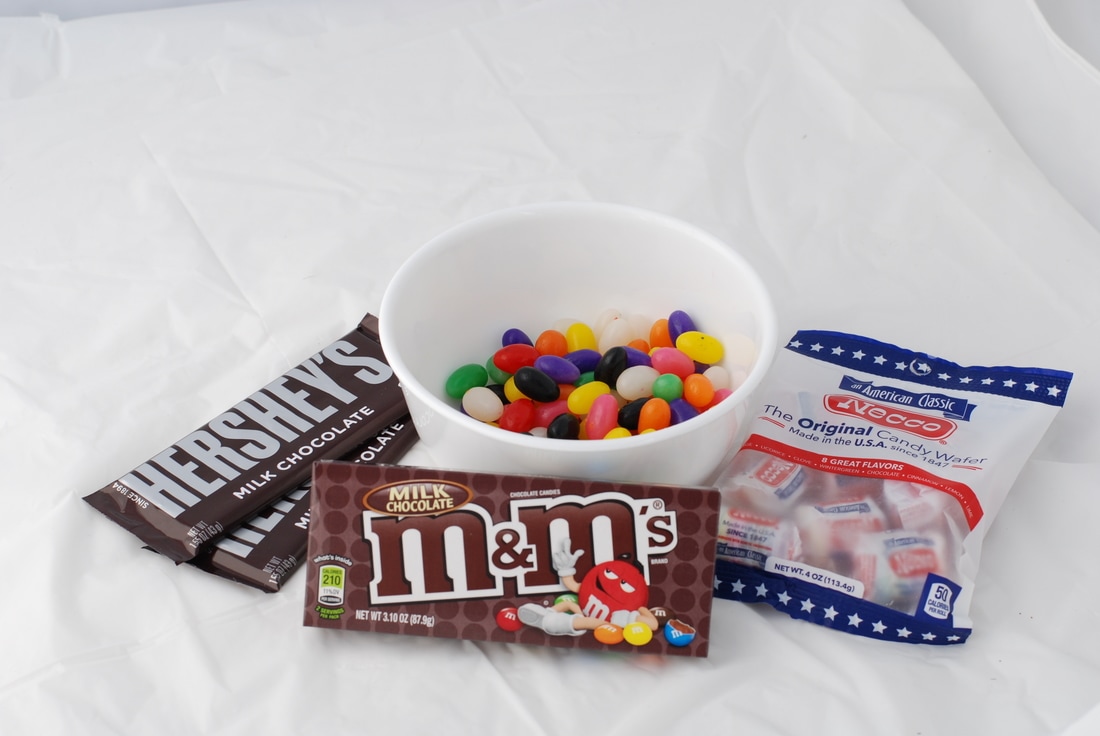 f/8, ISO 200, 1/250th of a second  f/1.8, ISO 200, 1/750th of a second I brought in various fruits, nuts, wooden dishes and candy for my food project. I used a maroon tablecloth in courtesy of Mrs. Moncure and many wooden bowls and plates my mom has collected over the years. Some things I learned from the tutorials that I didn't know before was that your graphic approach emphasizes line, color, shape and texture. Also, it is important to try to use ironed or steamed napkins. You can create a frosted look on glass with surf wax. When the photographer drops their point of view, the light becomes more descriptive. Lastly, aqua gel is a material used to create a drip look, but it does not run. What I did to make my photograph similar to professional shots was trying to arrange it in an aesthetic way and have blending color combinations. Some things I learned while shooting food photography was aperture is very important and having a lens that can get to an F stop of 1.8 is key. Also reflectors really enhance on how your photo looks and they should be used every time. The last thing I learned was that the light tent really gives your food a bright more natural light and the gold reflector gives it more of a warm feeling instead. Some businesses that use food photography is McDonalds, Cereal Companies and even some nicer restaurants. I think I was successful in bringing in items that went together like fruit and nuts and chocolate and chewy candy. I would definitely do this project again because I know I can get better photos than I did.
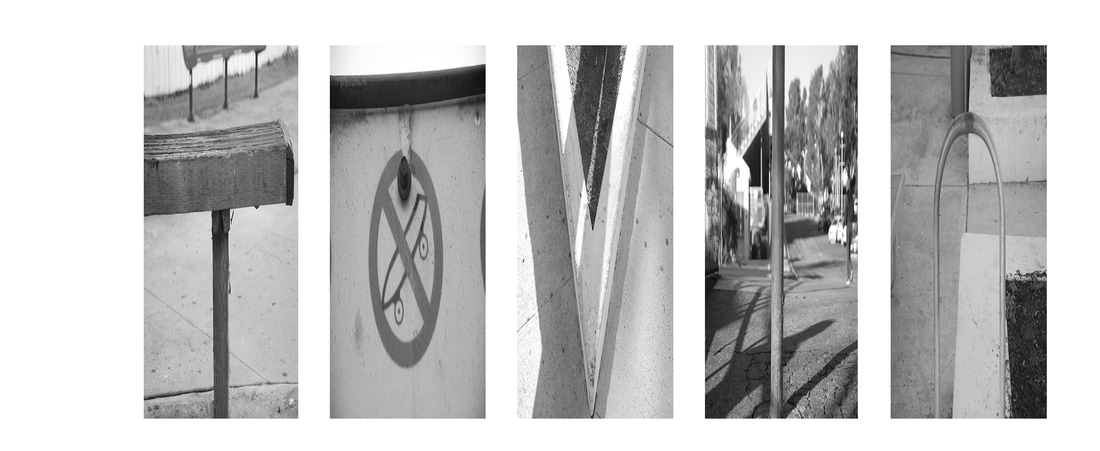 Once you open photoshop, you open the pre-made layer from the class server depending on how many letters you have in your name. You then drag each letter into a square after cropping them. After, you fit the photos into the template rectangle to make your name. In every photo you adjust them to make them black and white. You then save the photo as a photoshop file and a JPEG file. There were no steps that were unclear to me. I wasn't proud of figuring any steps out because Mrs. Moncure made a great tutorial video that explained everything. What I like best about my work is that most people used lame stuff for the "O" but mine is sick. What I could improve about my artwork is editing the photos better before entering them in photoshop.
Career Layer Mask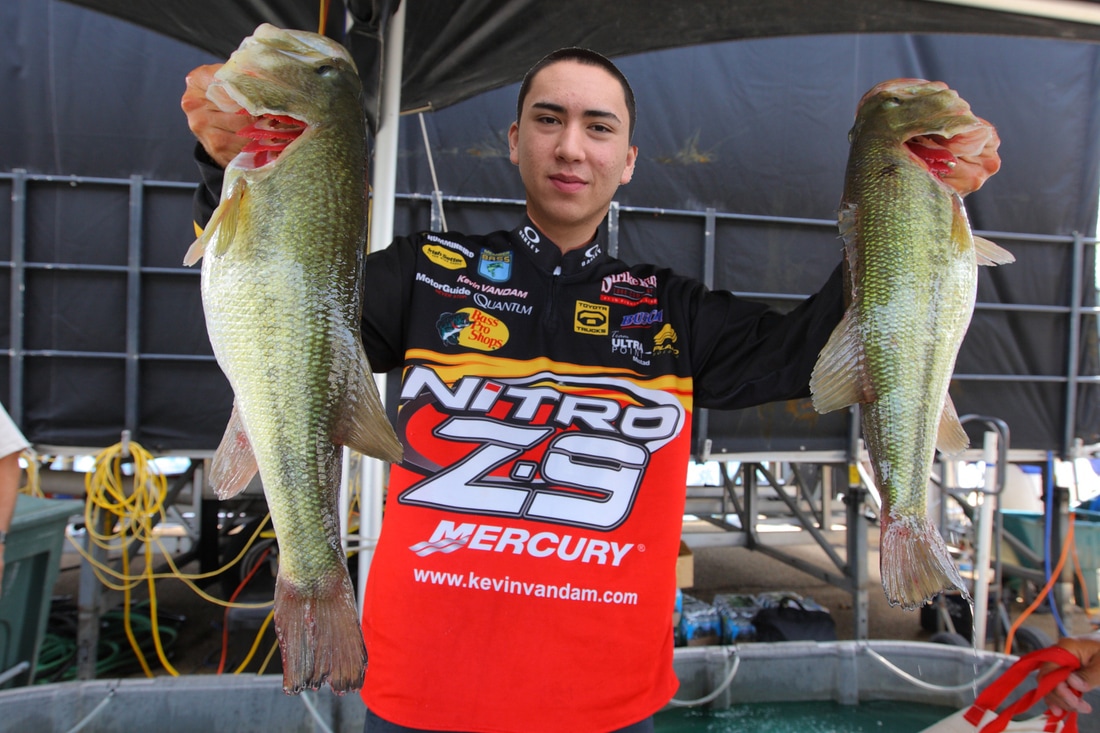 My ideal career would be to be able to fish every day on the tour. In my photo above I layer masked my face onto arguably the top bass fisherman in the world, Kevin Van Dam. If you are successful on the tour you are able to make millions and millions of dollars. You are showered in sponsors and gear on the daily. My day in the life would include either driving to tournaments, practicing or simply, fishing. Becoming a professional fisherman is very difficult, expensive and competitive. If fishing for a living doesn't work out I would like to be a marketing manager or representative for a big fishing company such as Daiwa or Shimano so i can still be part of the fishing world, but not have to worry about catching for a living, Celebrity Layer Mask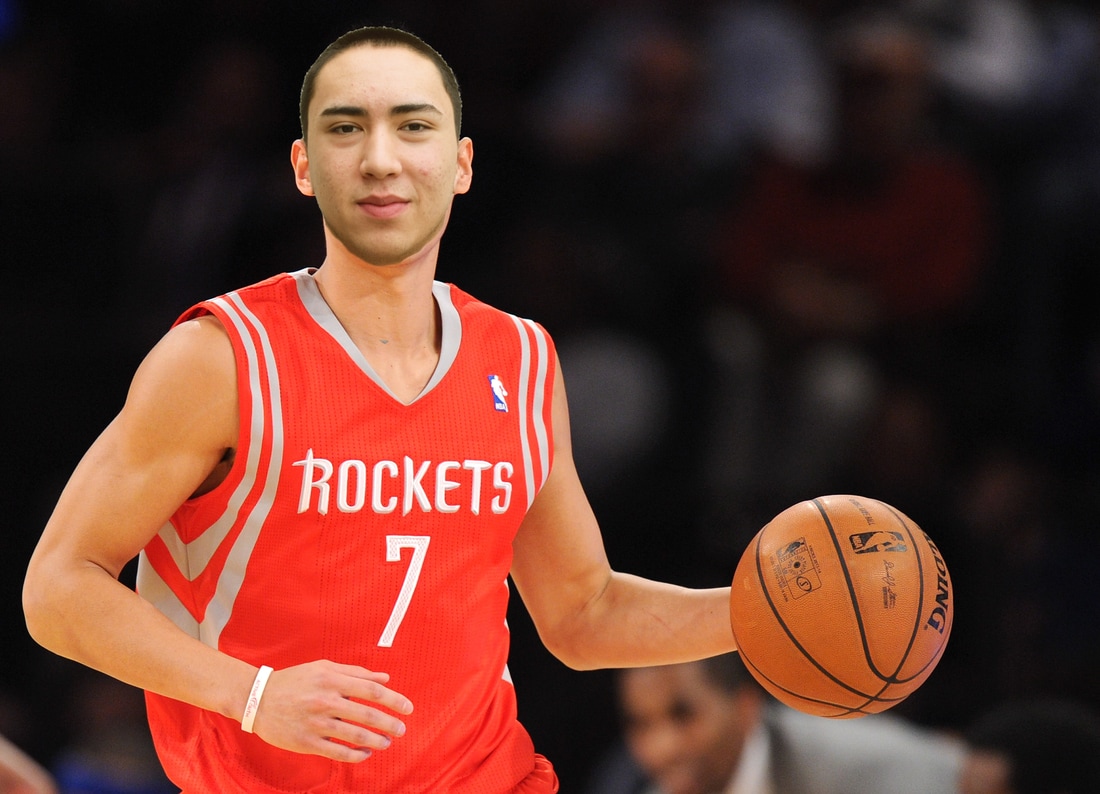 I put my face on Jeremy Lin, an asian professional basketball player. I chose this celebrity because he is one of the very few asians in the NBA. I like him because he's always changing his hair in creative ways and I think its pretty dank. Jeremy is a very good player and he used to play on my favorite team, the LA Lakers. I created my layer masks in photoshop by first saving an image in a large size for good resolution and opening it in PS. I lassoed my face and placed it right on the portraits of my celebrity. I scaled and transformed my head to get it the same size as his. I lowered the opacity to sixty percent so I could line up my mouth and eyes with his. I created a layer and used the paint brush to bring Jeremy's face in the photo. After touching up color and brightness I finished my layer mask.
Leading Line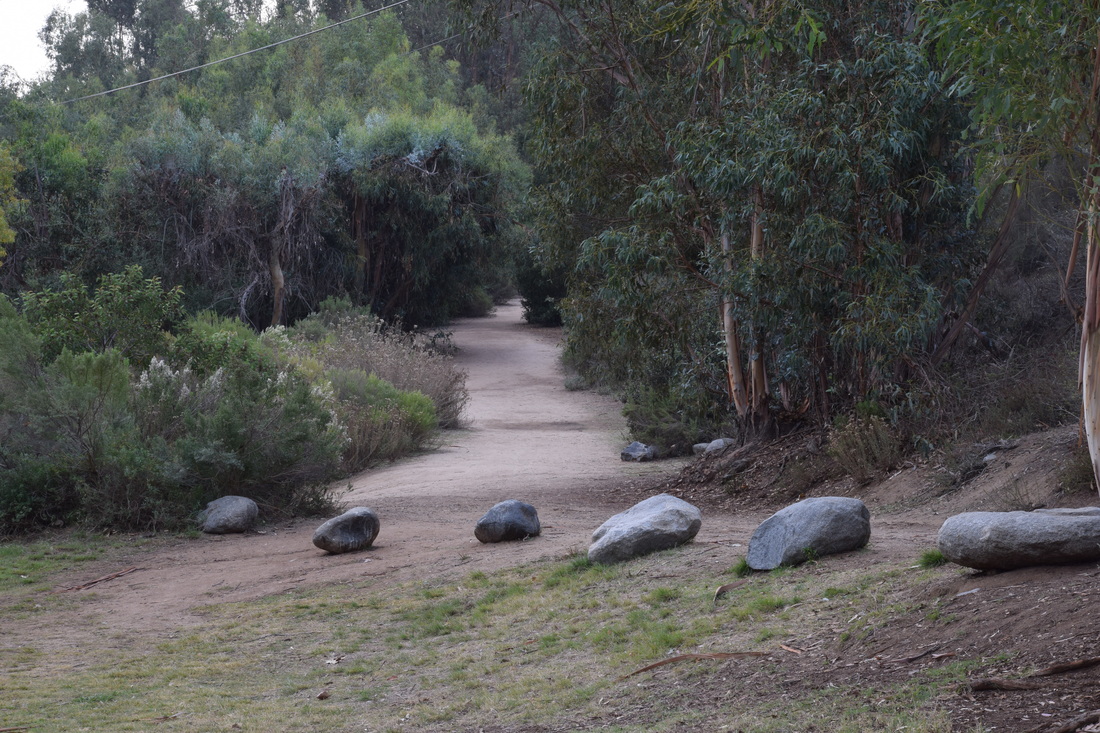 ISO 200, f/16, 1/8th of a second 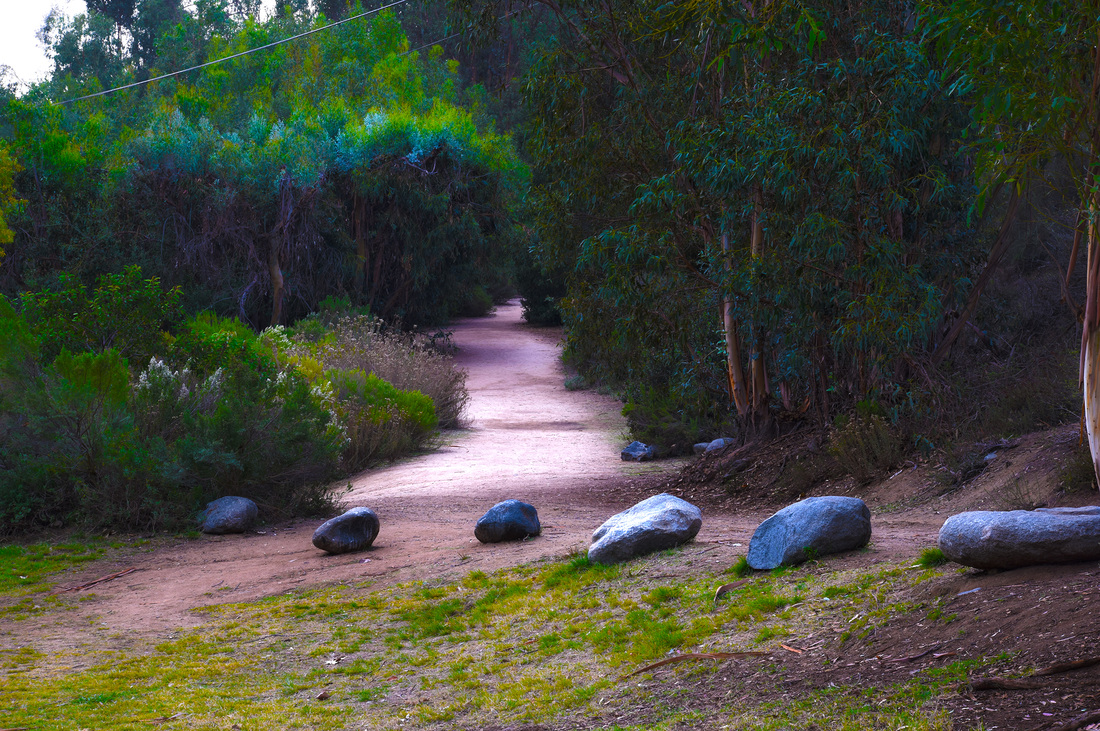 Rule of Thirds 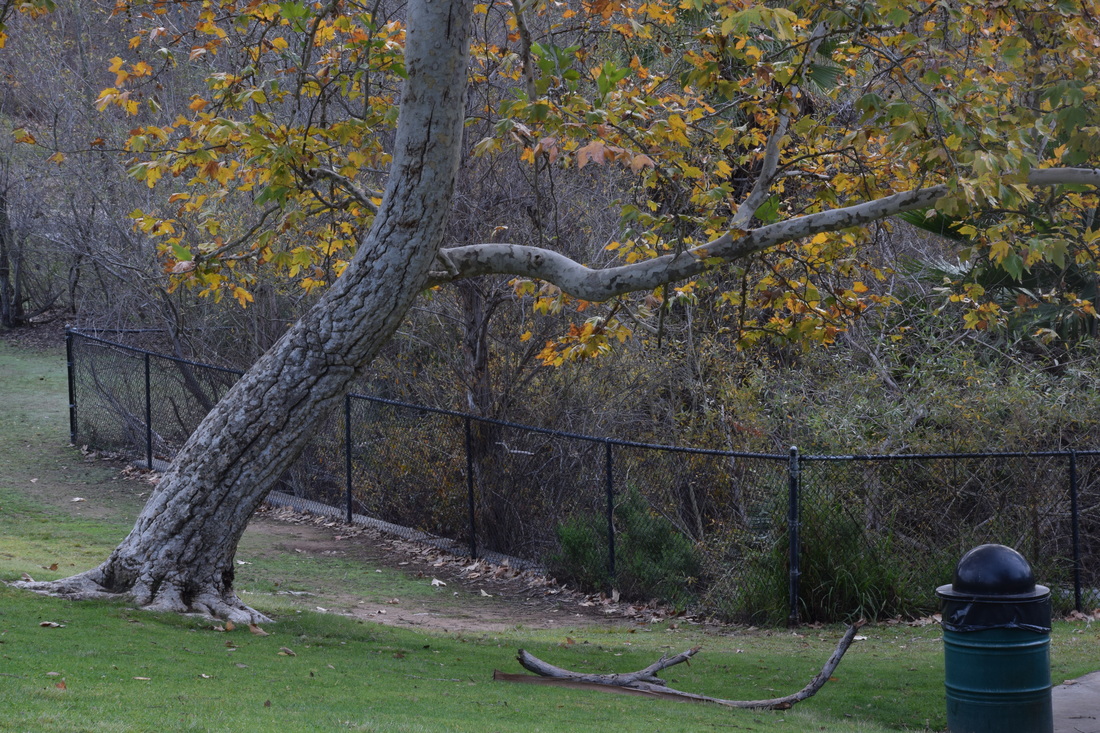 ISO 200, f/16, 1/10th of a second 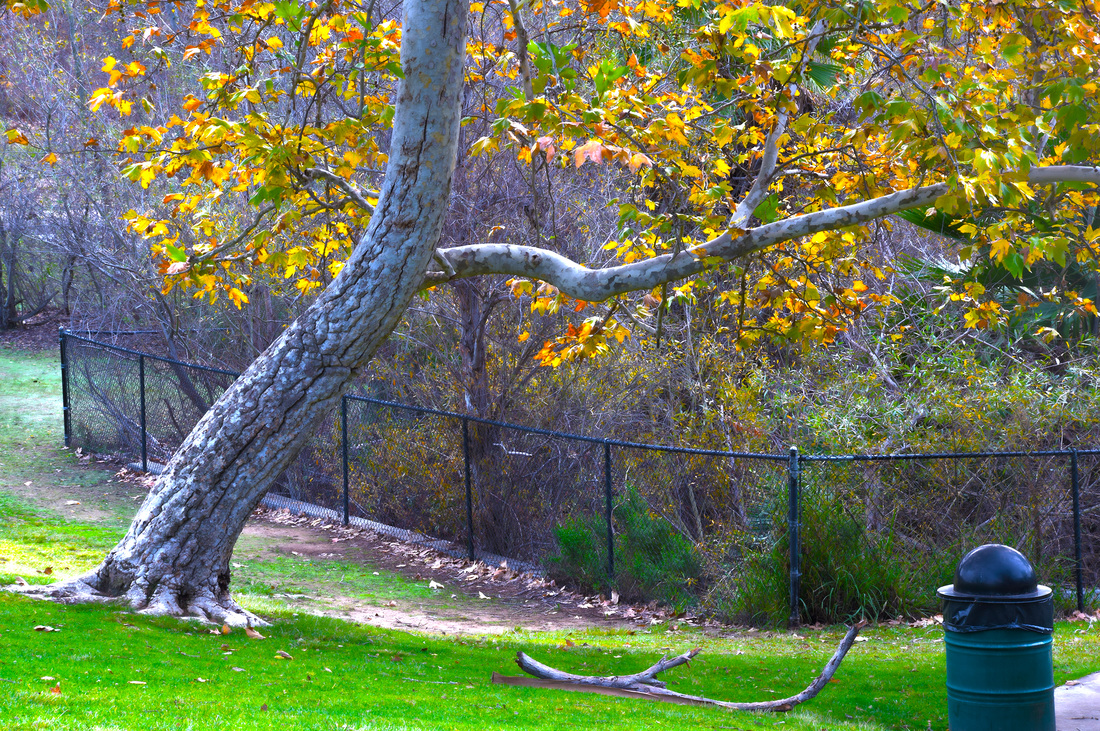 Framing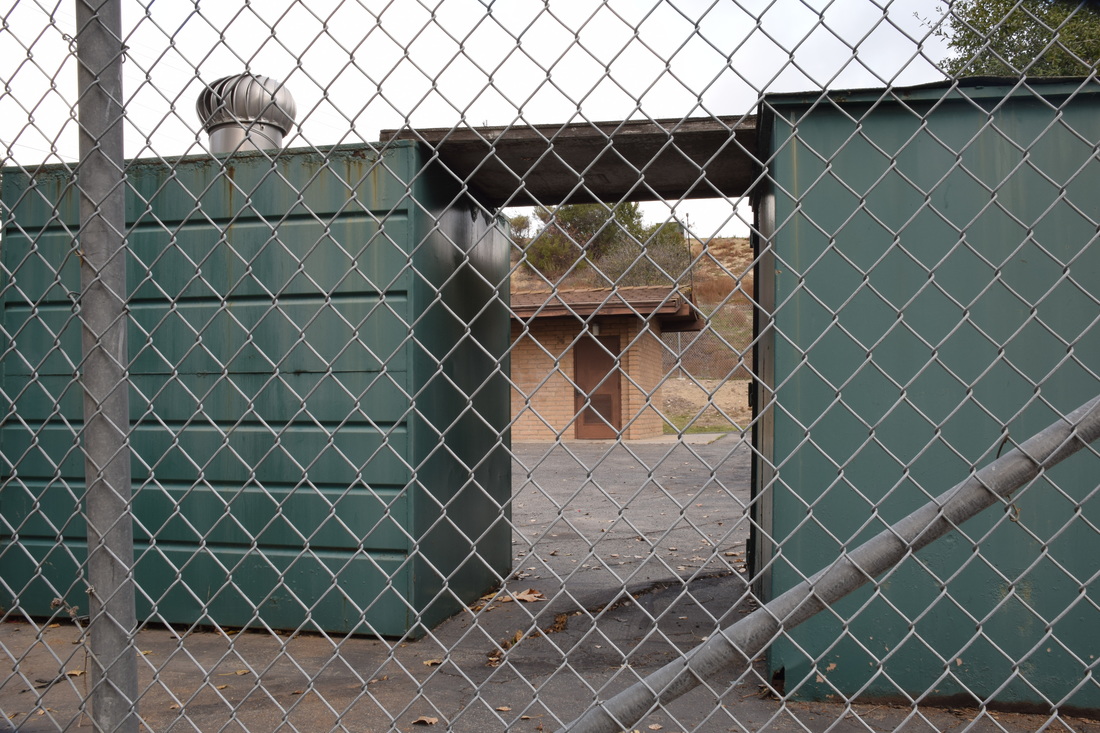 ISO 200, f/16, 1/10th of a second  Crop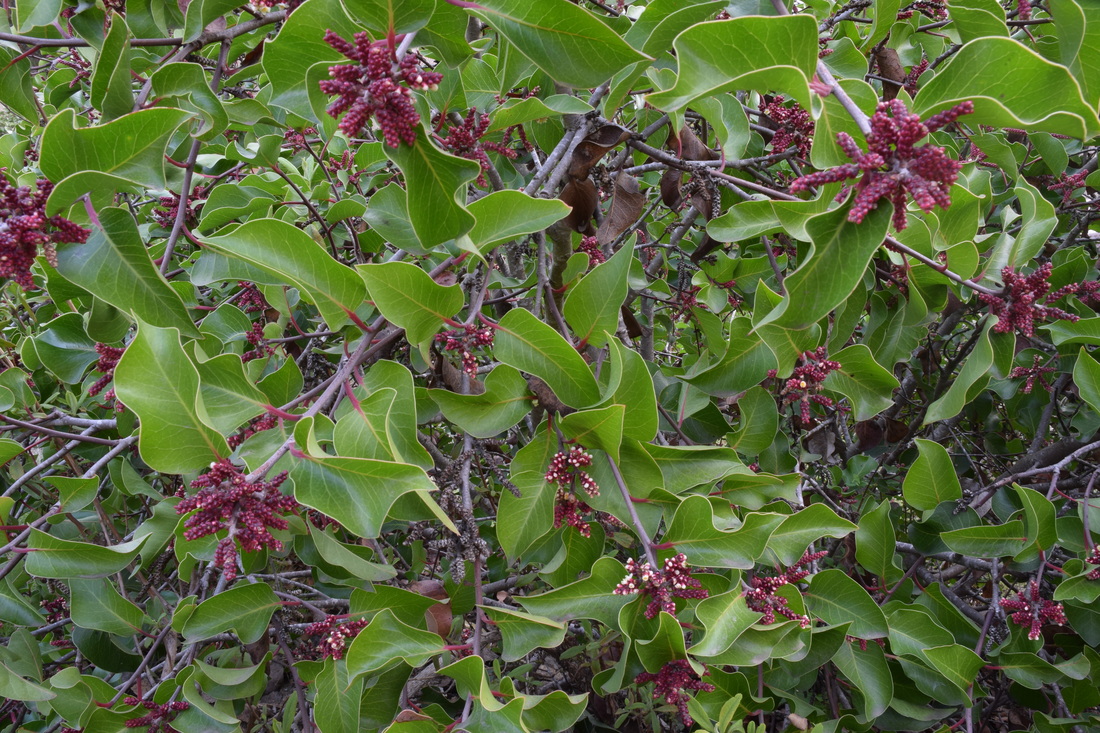 ISO 200, f/16, 1/4th of a second 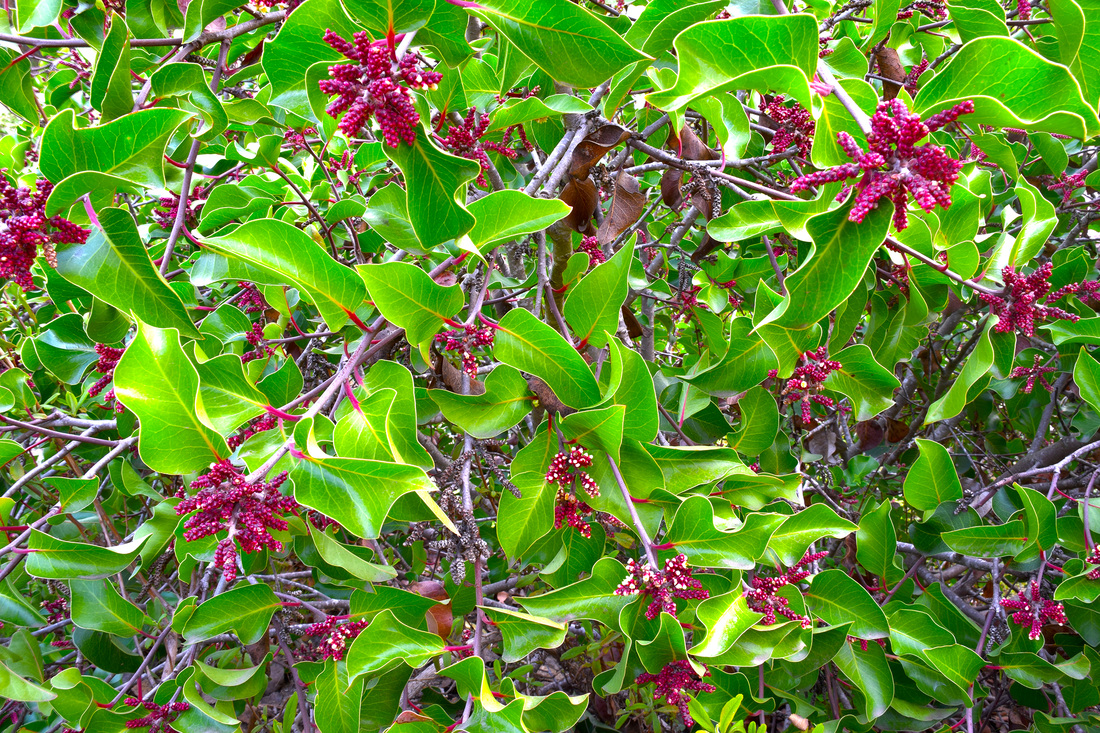 Symmetry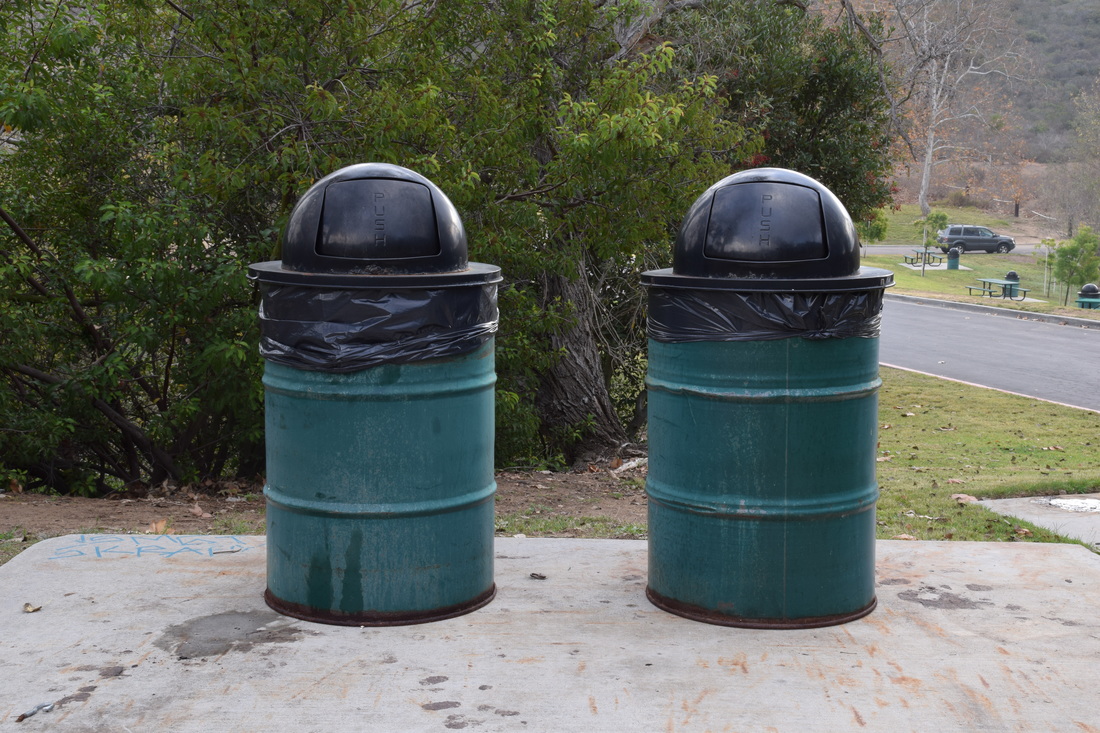 ISO 200, f/16, 1/10th of a second 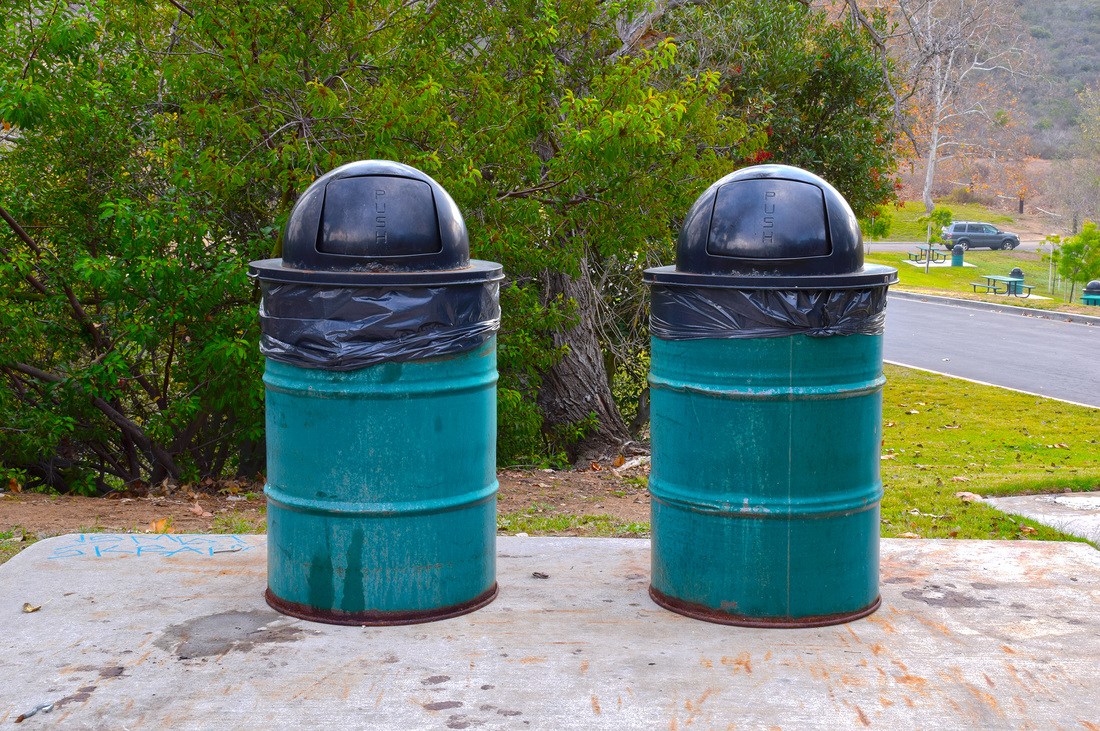 High-dynamic-range imaging is a high dynamic range technique used in imaging and photography to reproduce a greater dynamic range of luminosity than is possible with standard digital imaging or photographic techniques. For each image we took five photos with two negative half stops, two positive half stops and a photo with 0.0 compostion. All photos were taken on a tripod to reduce movement so all photos could be evenly layered on each other. To create the photos in Photoshop, we first automated the photos in HDR format which layered all of the photos for us. We then removed ghosts, saturated and highlighted the photo. People's effects will differ depending on how they changed the setting of their image.
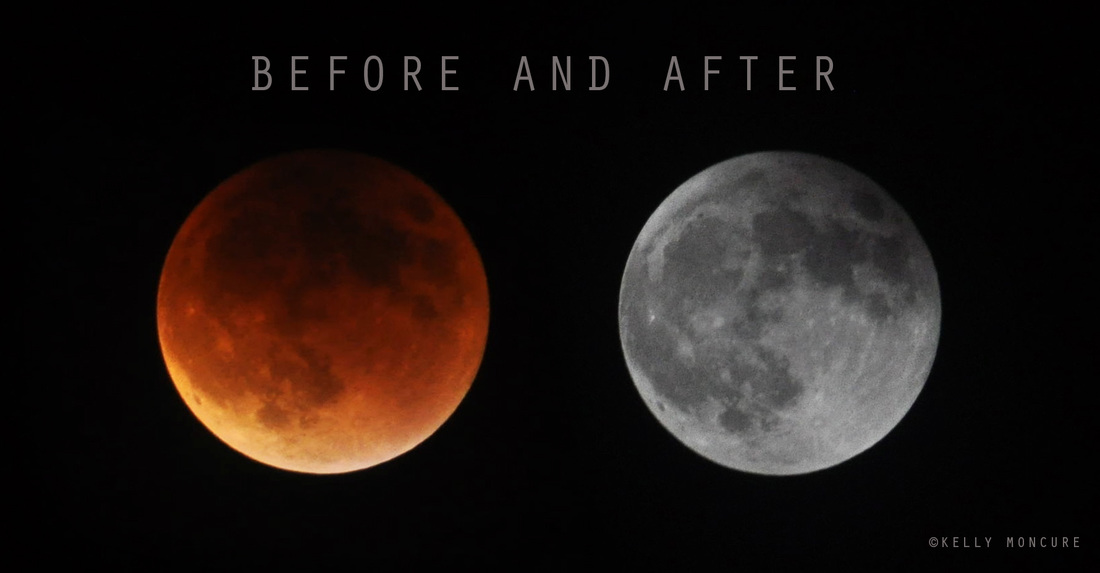 Blood Moon Lunar Eclipse, September 27, 2015. Left image: 70-300mm lens @ 270mm, ISO 1000, aperture f/5.3, shutter speed 1.3 secs. Right image: 70-300mm lens @ 300mm, ISO 800, aperture f/13, shutter speed 1/1250 sec. To photograph the moon:
1. Use a tripod! A flat surface will only allow you to shoot straight, and shooting the moon means that you'll be shooting up and constantly re-adjusting the tripod as the moon moves throughout the night. 2. Use a shutter release cord, remote or the camera's self timer if you don't have one, so that you don't move the camera when pressing the shutter release during a long exposure. 3. Use a zoom lens and zoom in as much as you can to the moon. It's okay if it's not a super fancy lens, this was shot using a 15 year old $100 lens. Focus in on the craters and details on the moon. 4. ISO 1250- 1600, so that you can use as fast a shutter speed as you can without losing detail-the longer the shutter speed, the more chances you have the camera will shake even slightly in the wind, resulting in an out of focus photograph. 5. Aperture priority of f/5.6 since you are not worried about capturing any details other then the moon. 6. Bracket your exposure, meaning over expose and underexpose the photograph from what the camera is telling you. Generally the camera will overexpose the moon, so you'll get nothing but a white blob in the sky. Use the exposure compensation button (the +/- button below the shutter release) and change the exposure to -0.5, then -1.0, then -1.5 and so on, until you start seeing detail in the moon. You may go as far as -5.0 exposure compensation to get what you need. 7. Take a fair amount of photos and keep refocusing as the night progresses. The photographs may look focused on the camera's display, but you won't really see if they're completely in focus until you upload them onto your computer screen. |